
Environmentally Stained Silvers
Last Updated: April 23rd, 2026
Remediating Environmental Staining on Silver Coins Found Metal Detecting
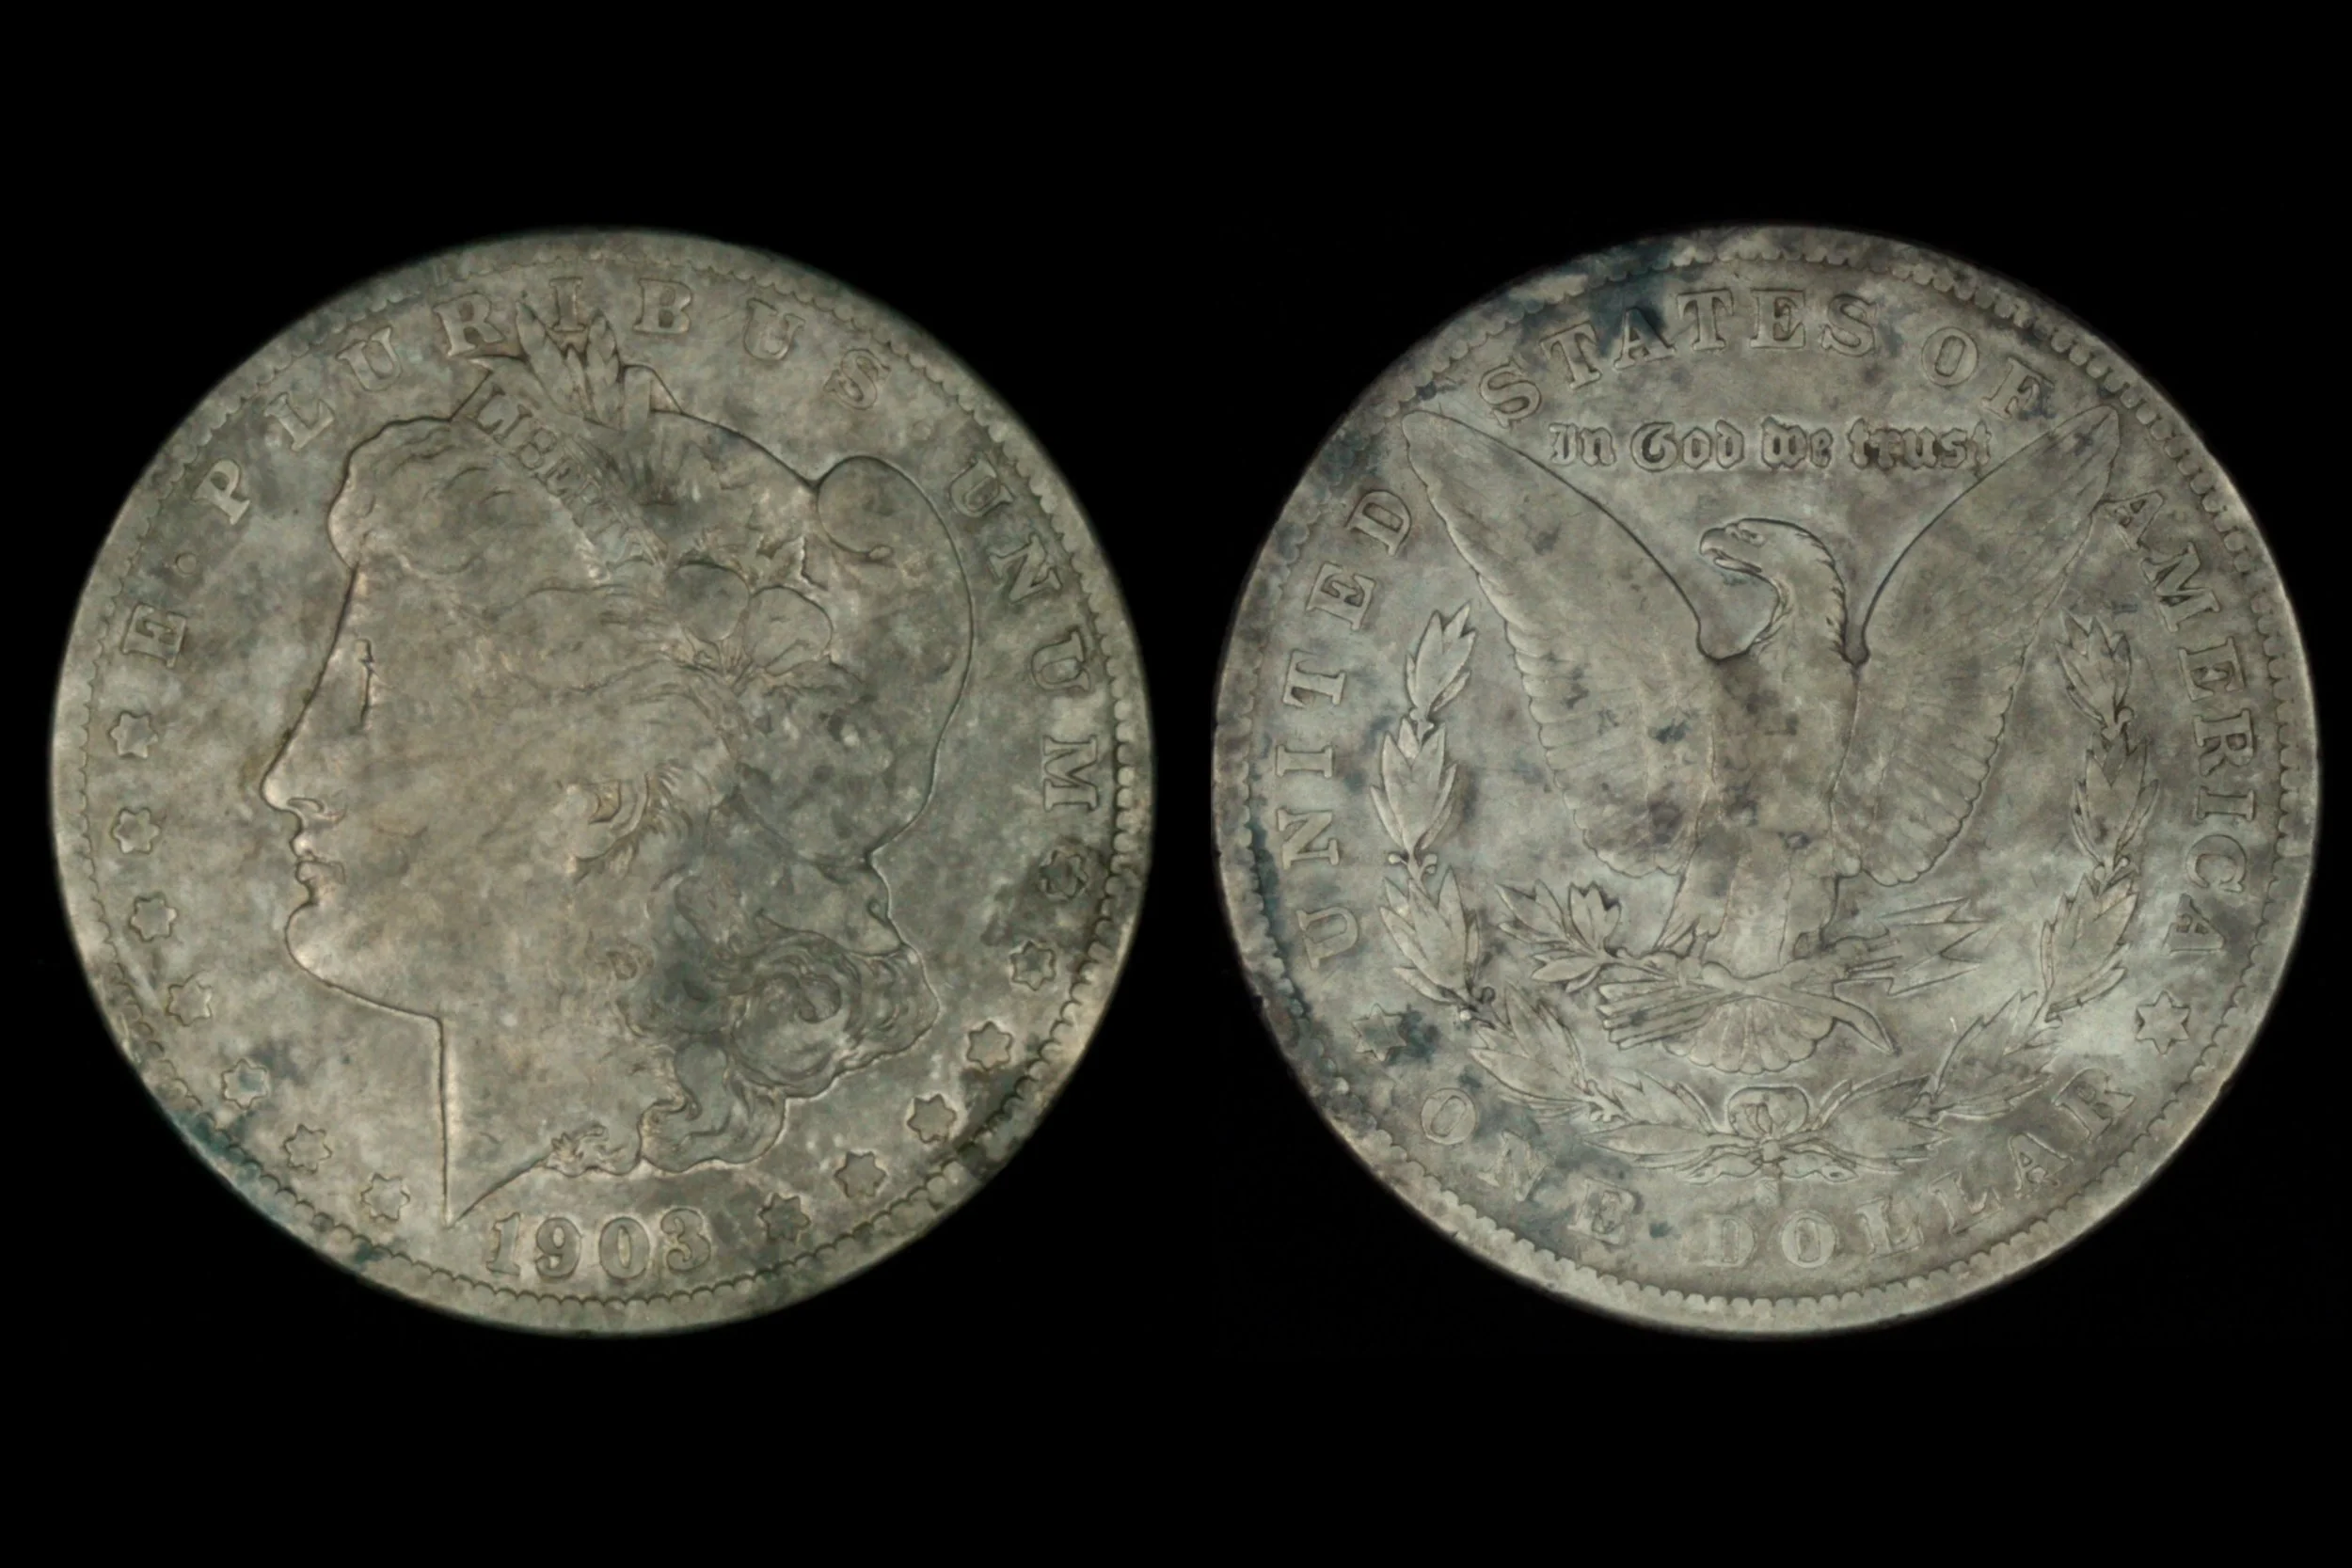
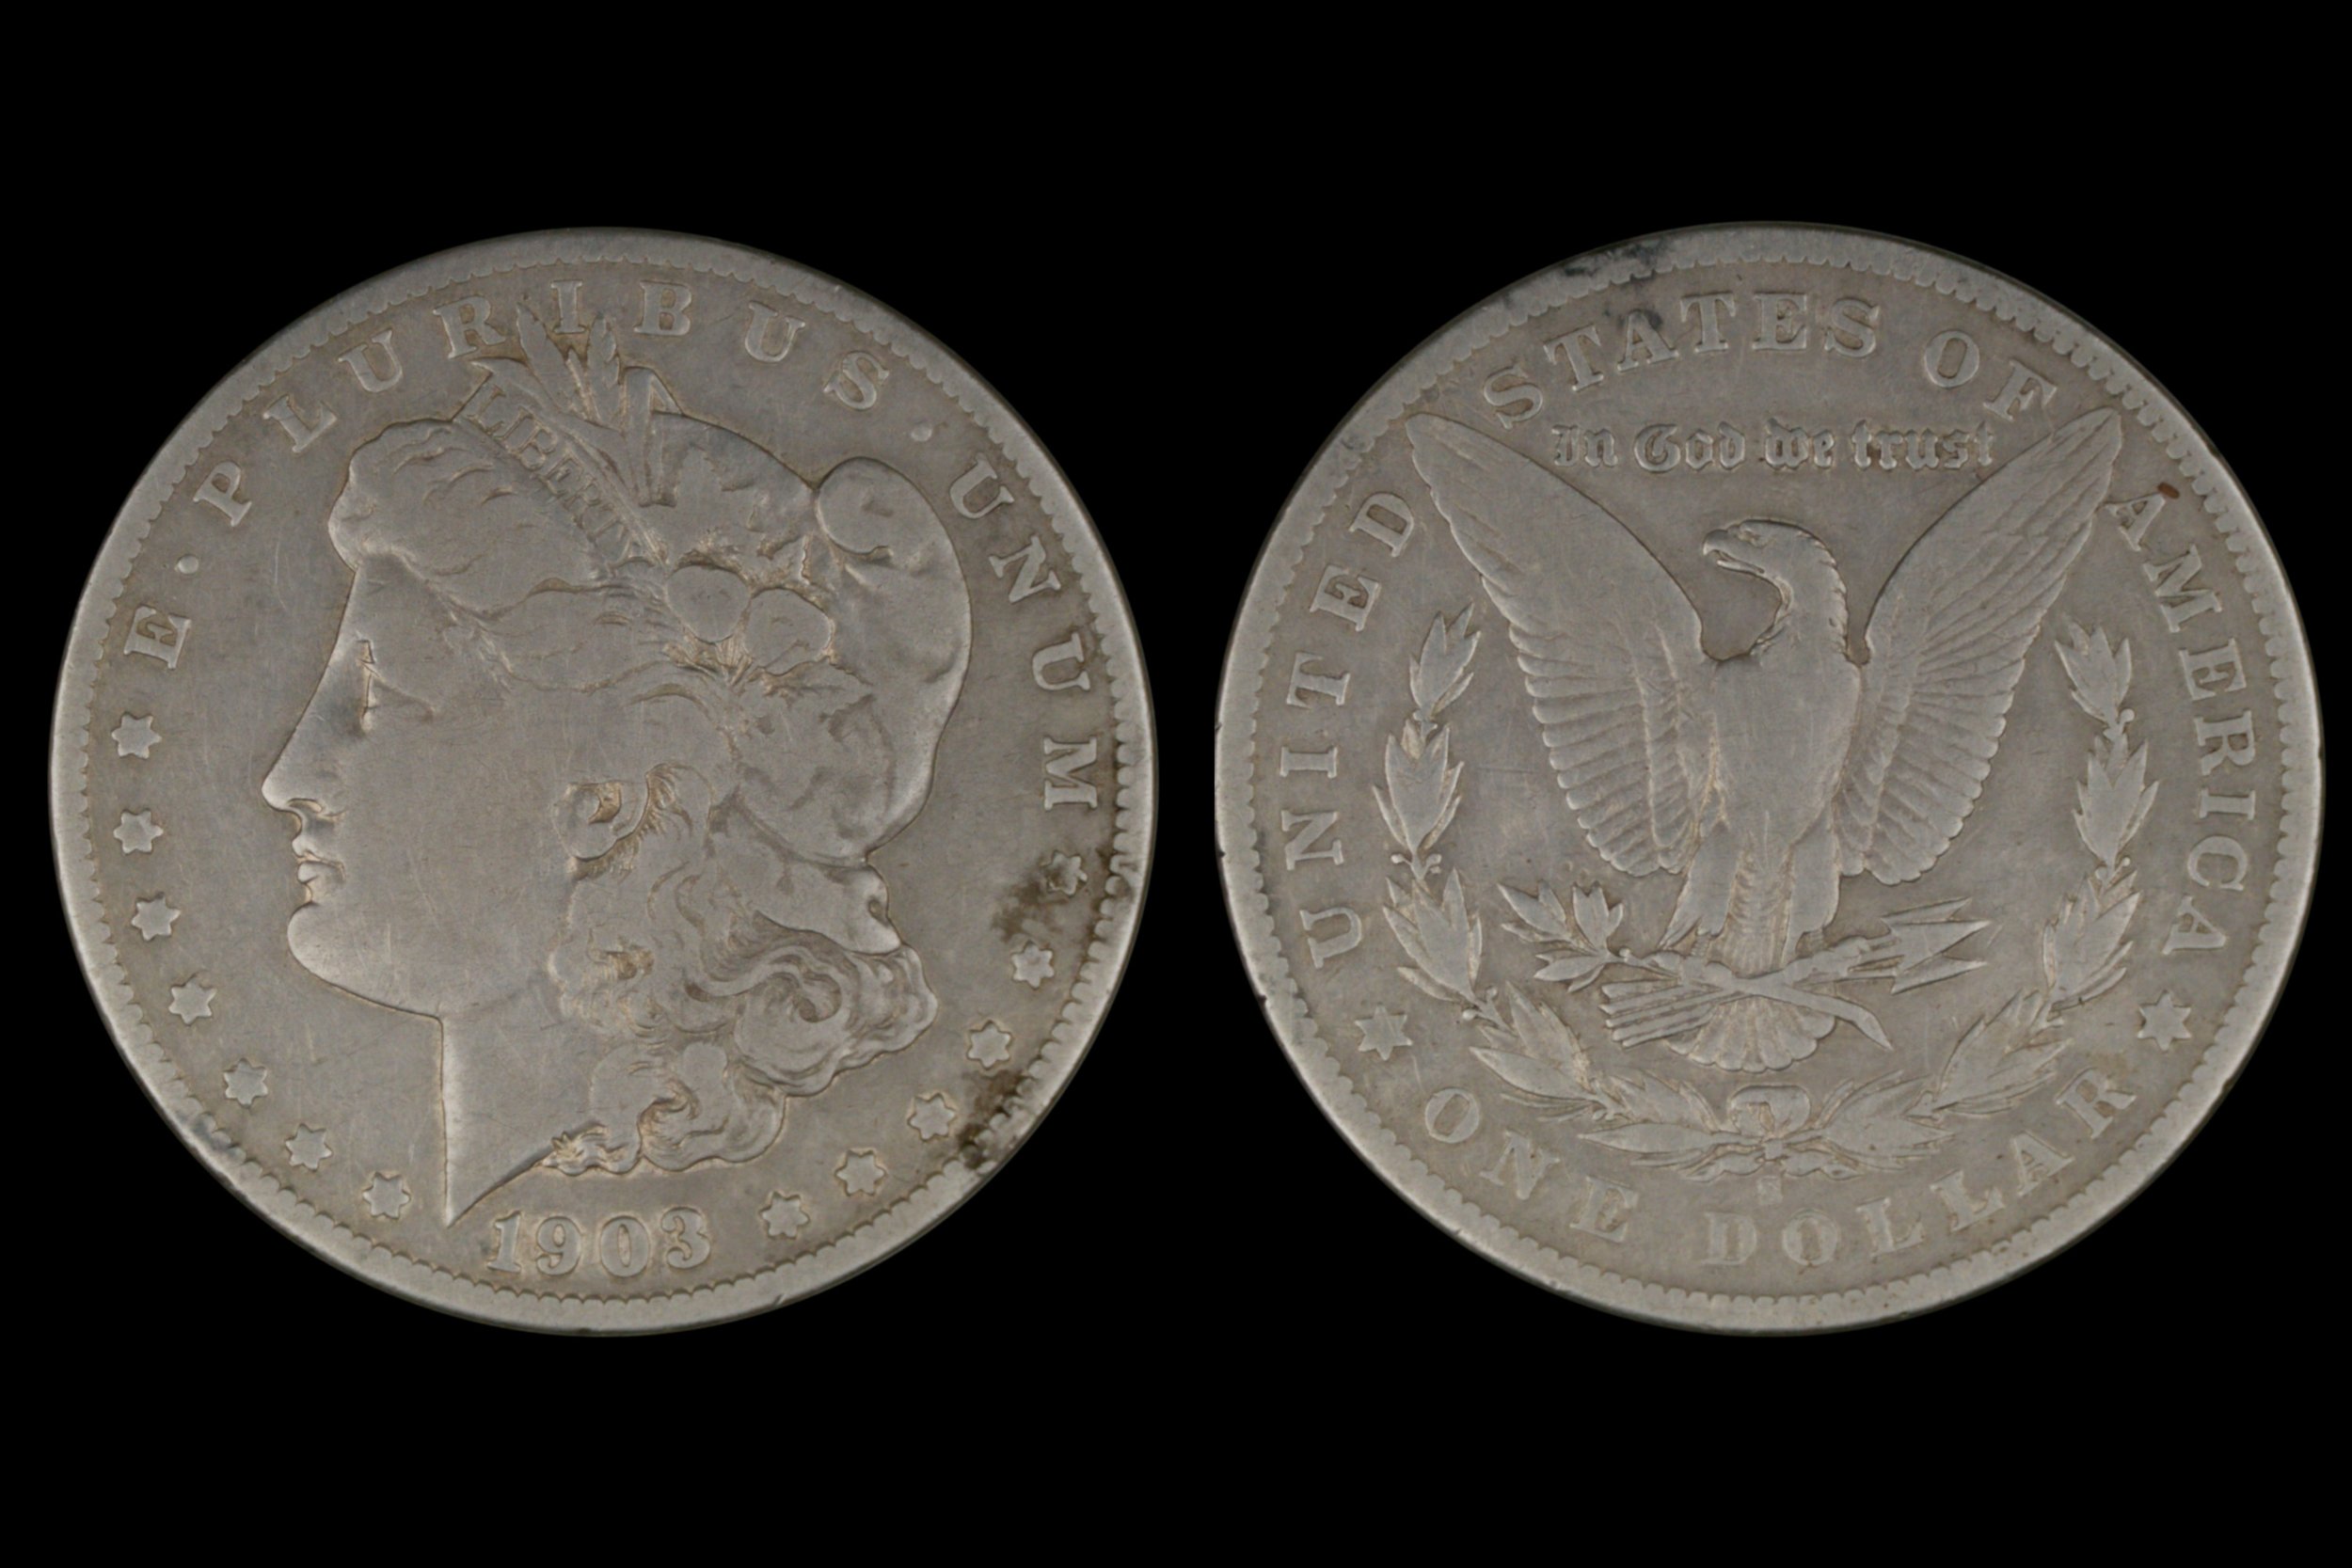
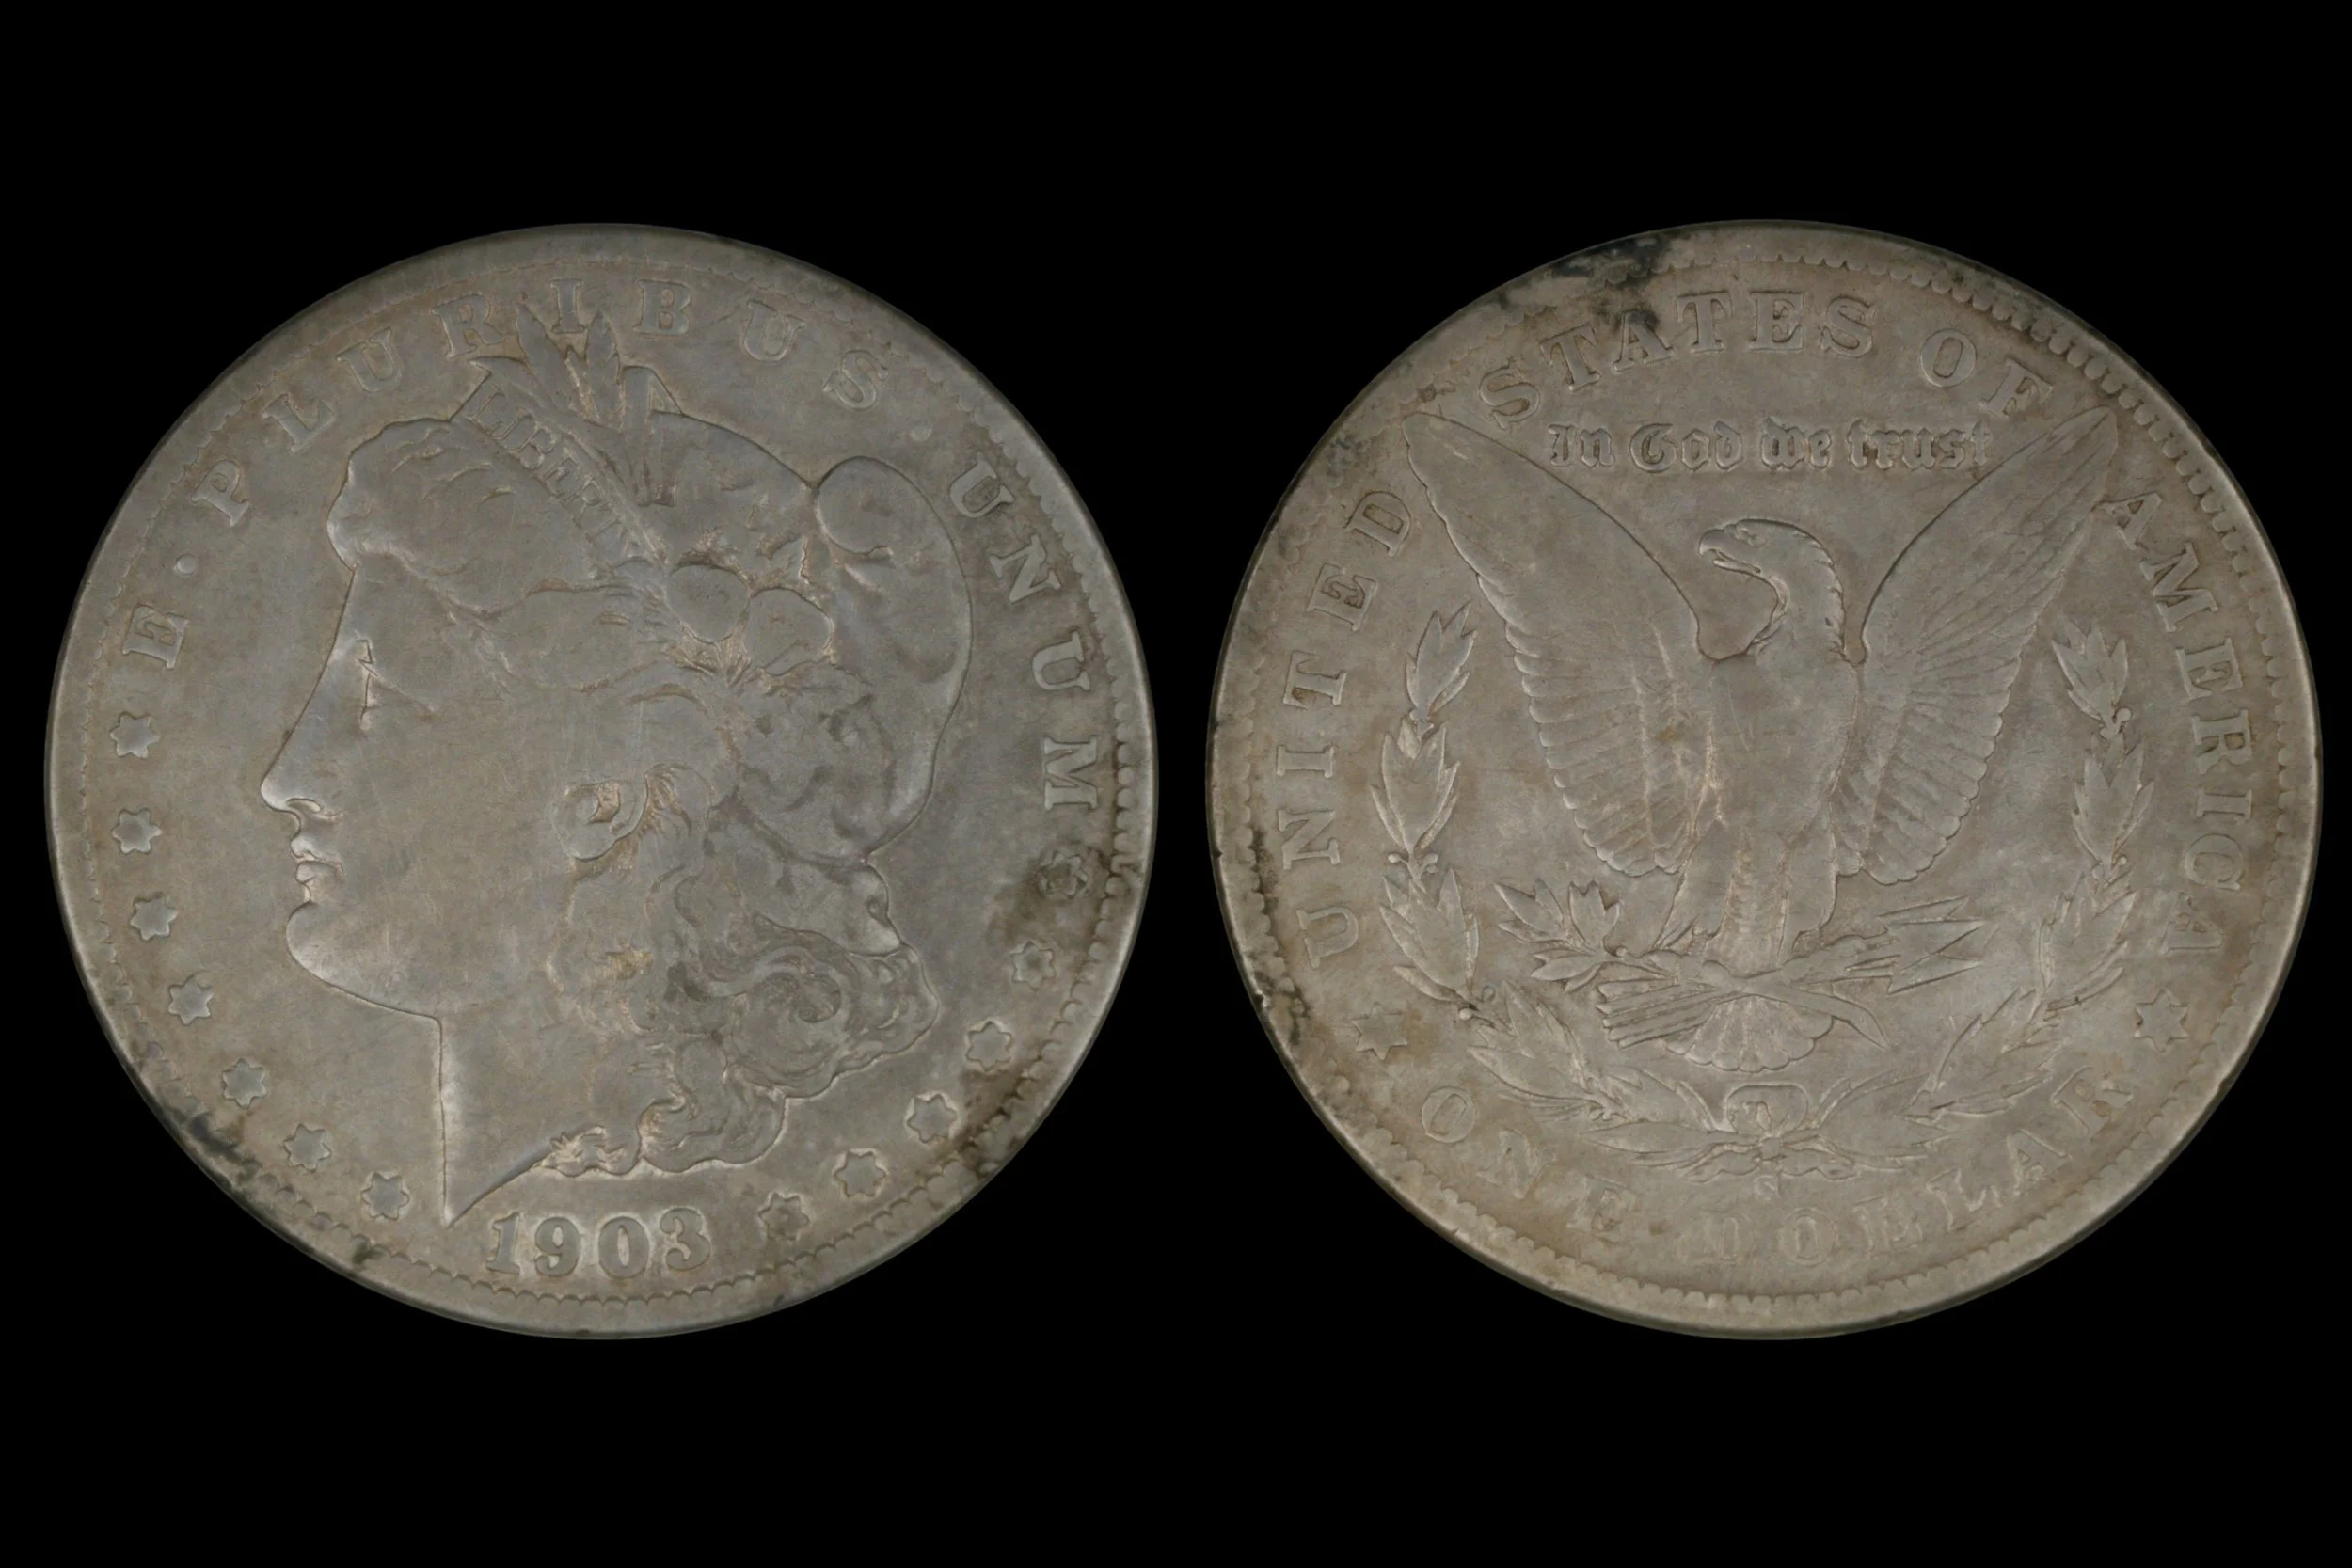
1903-S Morgan Dollar with environmental staining. The starting image represents the post-Alkali Wash condition while the final image shows the final remediation from the steps highlighted below. Click and hold the vertical bar, and slide it right to reveal the results.
In my Cleaning Coins: Alkali Washing with Sodium Sesquicarbonate post, I presented a restoration method well suited for coins found metal detecting. Alkali washing is a contaminant-removal process — gentler than any acid-based treatment — that begins with solvents to strip oils and organics, followed by an alkaline wash to loosen dirt, corrosion byproducts, and mineralized deposits. On most dug coins, this sequence reveals detail, improves stability, and exposes the coin's true condition without aggressive surface intervention. It should be considered mandatory before advancing to any technique presented in this post.
Most of the time, alkali washing completes the restoration. Occasionally, though, a silver coin will still show dark, uneven discoloration after treatment. This is most likely environmental staining — and unlike ordinary dirt or residue, it is the product of long-term chemical interaction between the silver alloy and the burial environment. Prolonged exposure to sulfur compounds, chlorides, mineralized moisture, or decaying organic matter can alter the coin's outer metal itself, leaving behind discoloration that may appear gray, black, brown, or bluish-violet.
Because that change is tied to the metal rather than to material sitting on top of it, environmental staining is fundamentally more resistant than residual soil contamination or natural toning. This is why a coin can appear to have a removable film yet show little improvement after repeated alkali wash cycles — the staining is bonded to, or formed within, the metallic surface as sulfides, chlorides, or other corrosion products.
That reality sets practical limits on what any method covered here can achieve. Some coins improve substantially while others can only be softened visually. Complete correction, in many cases, is not possible without altering the surface itself — and that is often not worth the trade-off. The better outcome is controlled improvement: reducing the visual distraction of the staining while preserving whatever natural character the coin still has.
Alkali Wash Starter Kit
Everything you need to start restoring ground finds — Sodium Sesquicarbonate and starter kits, curated and sold by ProDetecting.
Browse the Store →Understanding Environmental Staining on Silver Coins
Environmental staining is best understood as a corrosion-related surface alteration, not simple contamination. Contamination is foreign material — dirt, residue, accretions — mechanically adhering to the coin. Environmental staining is something fundamentally different: the product of chemical reactions that occurred at the metal-environment interface during burial, leaving reaction products embedded within the outer layer of the alloy itself.
Most historic silver coinage is a silver-copper alloy, and both metals are reactive. Once buried, they are exposed to moisture, oxygen, sulfur compounds, chlorides, carbonates, and organic acids present in the surrounding soil. The result can be silver sulfide, silver chloride, silver oxide, copper oxides, or mixed corrosion products — the exact chemistry determined by soil composition, pH, redox conditions, moisture cycling, and organic content.
Sulfur chemistry is typically the primary driver of dark discoloration. Silver reacts readily with sulfur to form silver sulfide, responsible for the gray-to-black staining characteristic of dug silver. But soil conditions are rarely uniform across a coin's surface, so the resulting reaction layers vary in both thickness and composition — which is why environmental staining almost always appears blotchy or mottled rather than evenly toned.
The copper component of the alloy further complicates the picture. Silver and copper corrode at different rates and in different ways, and microscopic variations in alloy structure, wear, and porosity create localized reaction zones across the coin's surface. Two areas exposed to the identical burial environment can darken in distinctly different ways.
In more advanced cases, the damage extends beyond chemistry. Burial corrosion can physically alter the coin's surface topography at a microscopic level, etching and roughening the outer layer. Even when dark films are successfully reduced, the underlying surface may still scatter light differently — leaving the coin visually dull or shadowed. This is why environmental staining can remain apparent even after treatment.
This is also why standard cleaning methods have limited effect on true environmental staining. Solvents address organics and surface residues. Alkali washing loosens soils and certain deposits. Neither approach reverses corrosion products that are chemically bonded to the alloy, nor repairs microscopic surface damage already caused by burial. Once the outer layer has been structurally altered, treatment becomes an exercise in controlled reduction — and with it, an acceptance that some degree of the staining may be permanent.
Environmental Staining vs. Fire Scale
Environmental staining and fire scale can sometimes look deceivingly similar, but they are produced by very different mechanisms. Environmental staining is caused by burial chemistry. Fire scale, by contrast, is caused by high heat.
When a silver-copper alloy is heated sufficiently, oxygen can diffuse through the silver and penetrate into the alloy beneath the surface. That oxygen then reacts with the copper component of the alloy, forming subsurface copper oxides. The result is a dark gray or blackened zone that is not merely on the surface, but deep within the alloy itself. Since that discoloration is subsurface, it is virtually impossible to eliminate.

This 1883-S Morgan Dollar was found in a field that likely encountered one or more grass fires during its time underground. The fire scale is localized to the Obverse which was facing up when extracted. These images are after an Alkali Wash treatment. The Reverse restored wonderfully while the Obverse will never recover from the black fire scale.
General Principles Before Attempting Treatment
Before treating environmental staining, begin with a realistic objective: improve eye appeal while preserving as much surface integrity as possible. Like alkali washing, pushing a remediation too far can easily leave a coin worse than its starting point. It is always better to stop two steps short than one step over.
First, confirm the discoloration is actually environmental staining. If the coin has not yet been through at least one full alkali wash sequence, do that first — thin films of soil residue or mineral deposits may still respond to standard treatment and should not be mistaken for true environmental staining.
When genuine staining is confirmed, always begin with the least aggressive method available. The techniques documented below are tiered from least to most aggressive, and a stepwise approach is best: start mild, assess the result, and escalate only if the coin is responding and further improvement is still needed.
Not all silver coins will respond the same way. Alloy composition, burial conditions, and the severity of surface alteration all influence the outcome — two coins pulled from the same site can react very differently to identical treatment. Monitor progress closely, and if improvement stalls or the surface begins to degrade, stop. Partial improvement is nearly always preferable to an aggressive attempt that sacrifices the coin's originality.
My personal goal is to achieve what I think of as a circulation cameo — a dull off-white surface with darkening settled into the fields. It is a look that divides opinion, but I find it genuinely attractive and far preferable to the alternative of unresolved environmental staining. An example of my ultimate goal is shown below.
The remediation process detailed below will NOT produce the blackened fields but will provide the off-white effect. In a forthcoming blog post I will document the steps to generate the cameo effect.
Final Word of Caution
Each step discussed below will alter the coin’s surface metal. It may drastically change the appearance of the coin. Any luster, or hint of luster, will likely be completely removed. Furthermore, the steps that follow are specific to silver alloys ( Ag >= 90%). I do not recommend these techniques on any other alloys.
If a coin processed through these remediation techniques is submitted for grading at a respected TPG, the chances of receiving a straight grade are virtually nil. It will most likely receive a DETAILS grade for CLEANING or ALTERED SURFACES. That said, if the environmentally stained version was submitted, it is certainly going to grade DETAILS for ENVIRONMENTAL DAMAGE so the benefit of processing is that the remediated coin is much more visually appealing.
Once a step in this process is started it cannot be reversed. Strongly consider the visual state of the coin before starting the remediation sequence and, if you decide to proceed, after each step is completed. Remediation can be stopped at any point in the sequence.
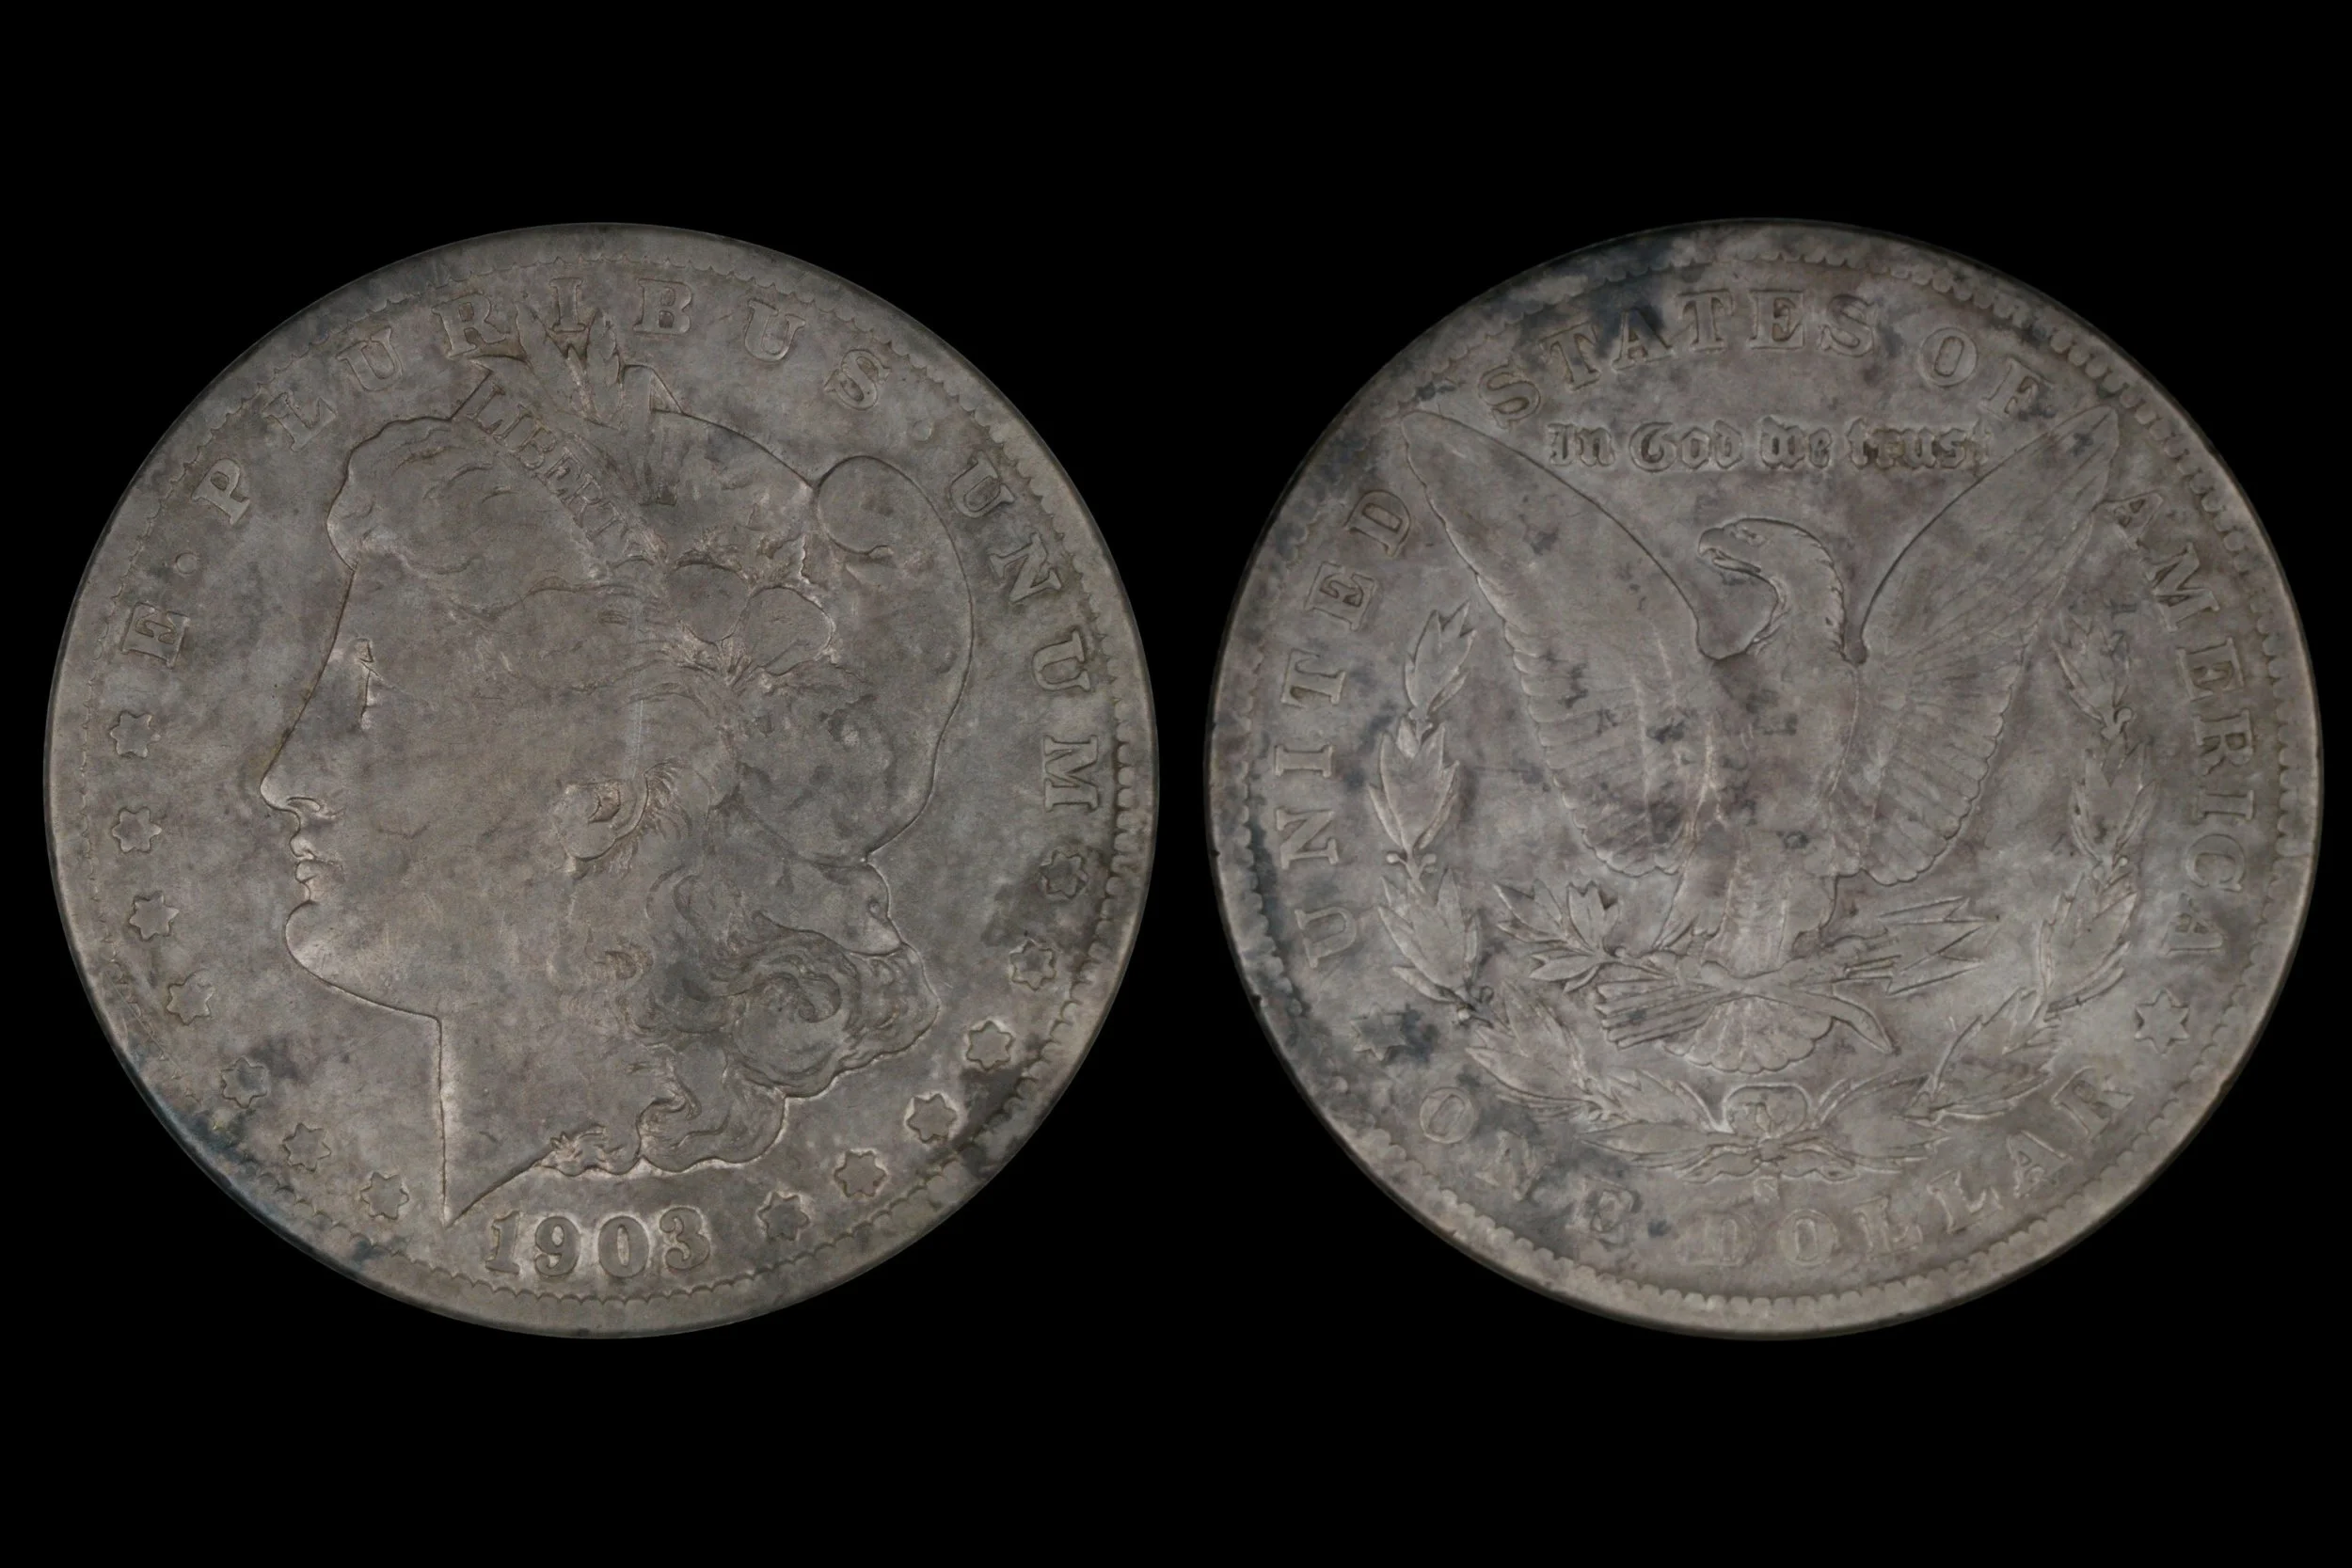
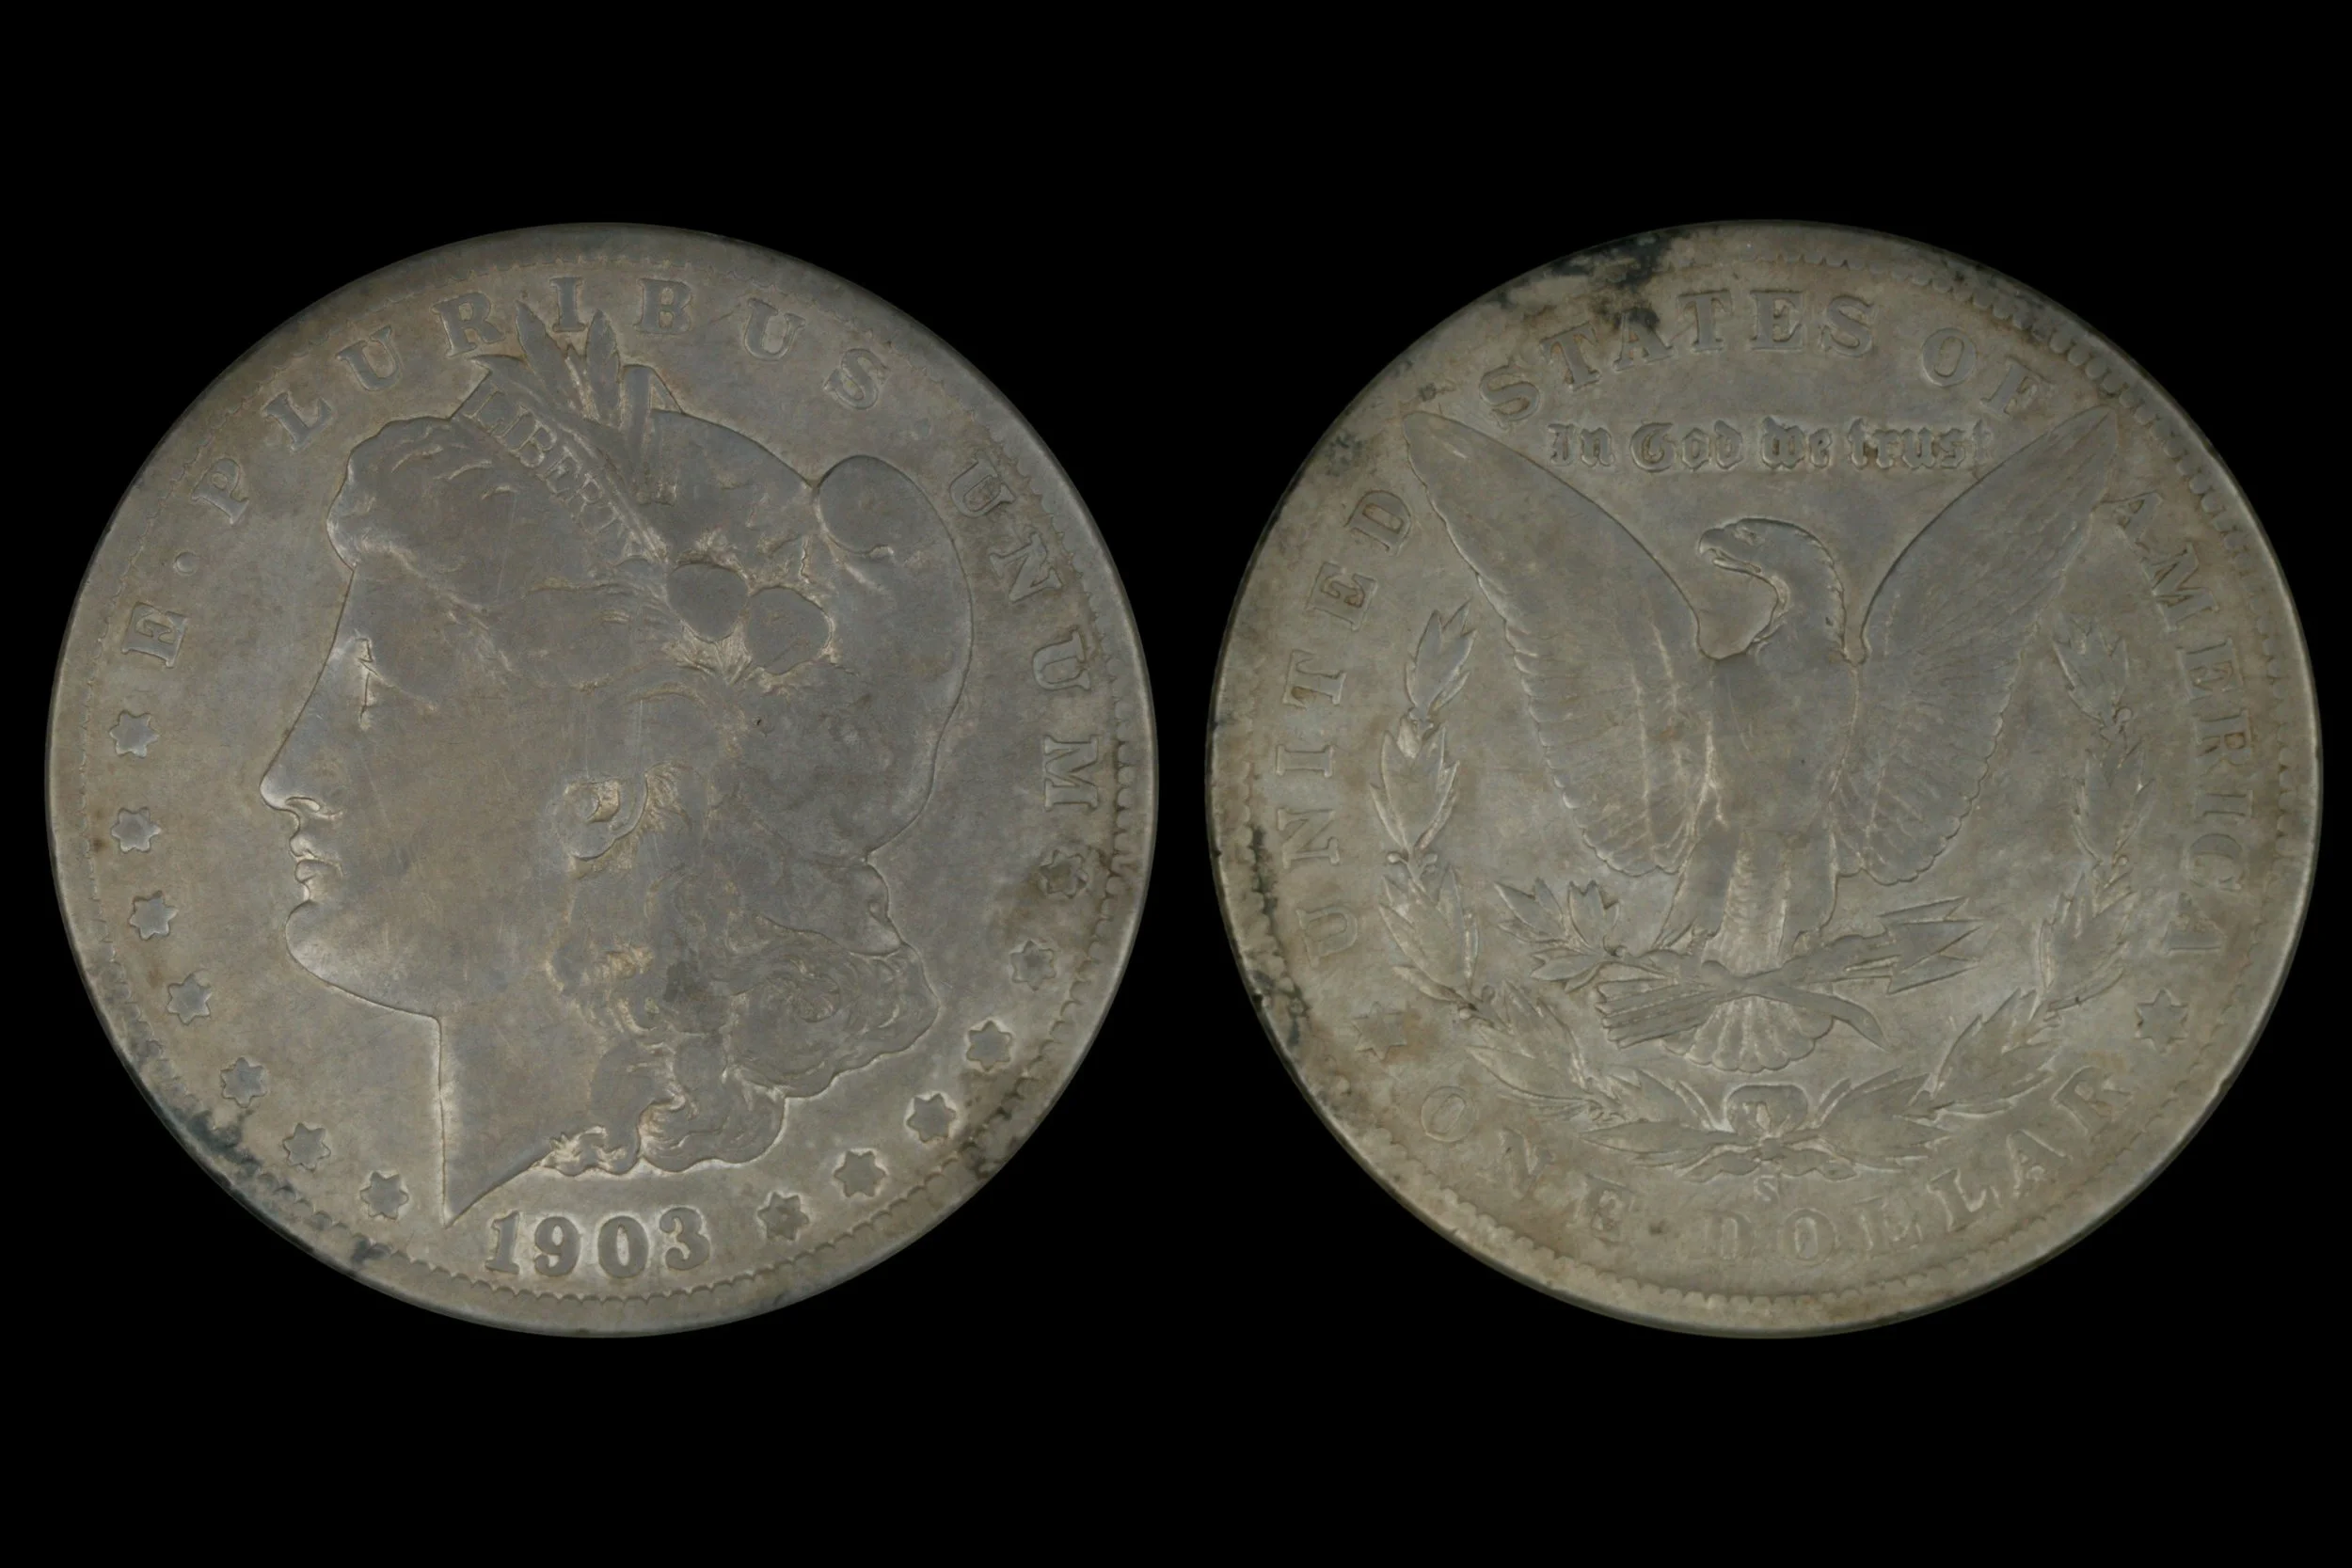
The 1903-S Morgan reference coin for this blog post is an unsightly example of environmental staining. The blotchy discoloration is so visually distracting that, in my opinion, metal loss was an acceptable alternative. I have many, visually appealing, environmentally stained silver coin examples in my collection that remain in their post-Alkali Wash, environmentally-stained state. Here are just a few.
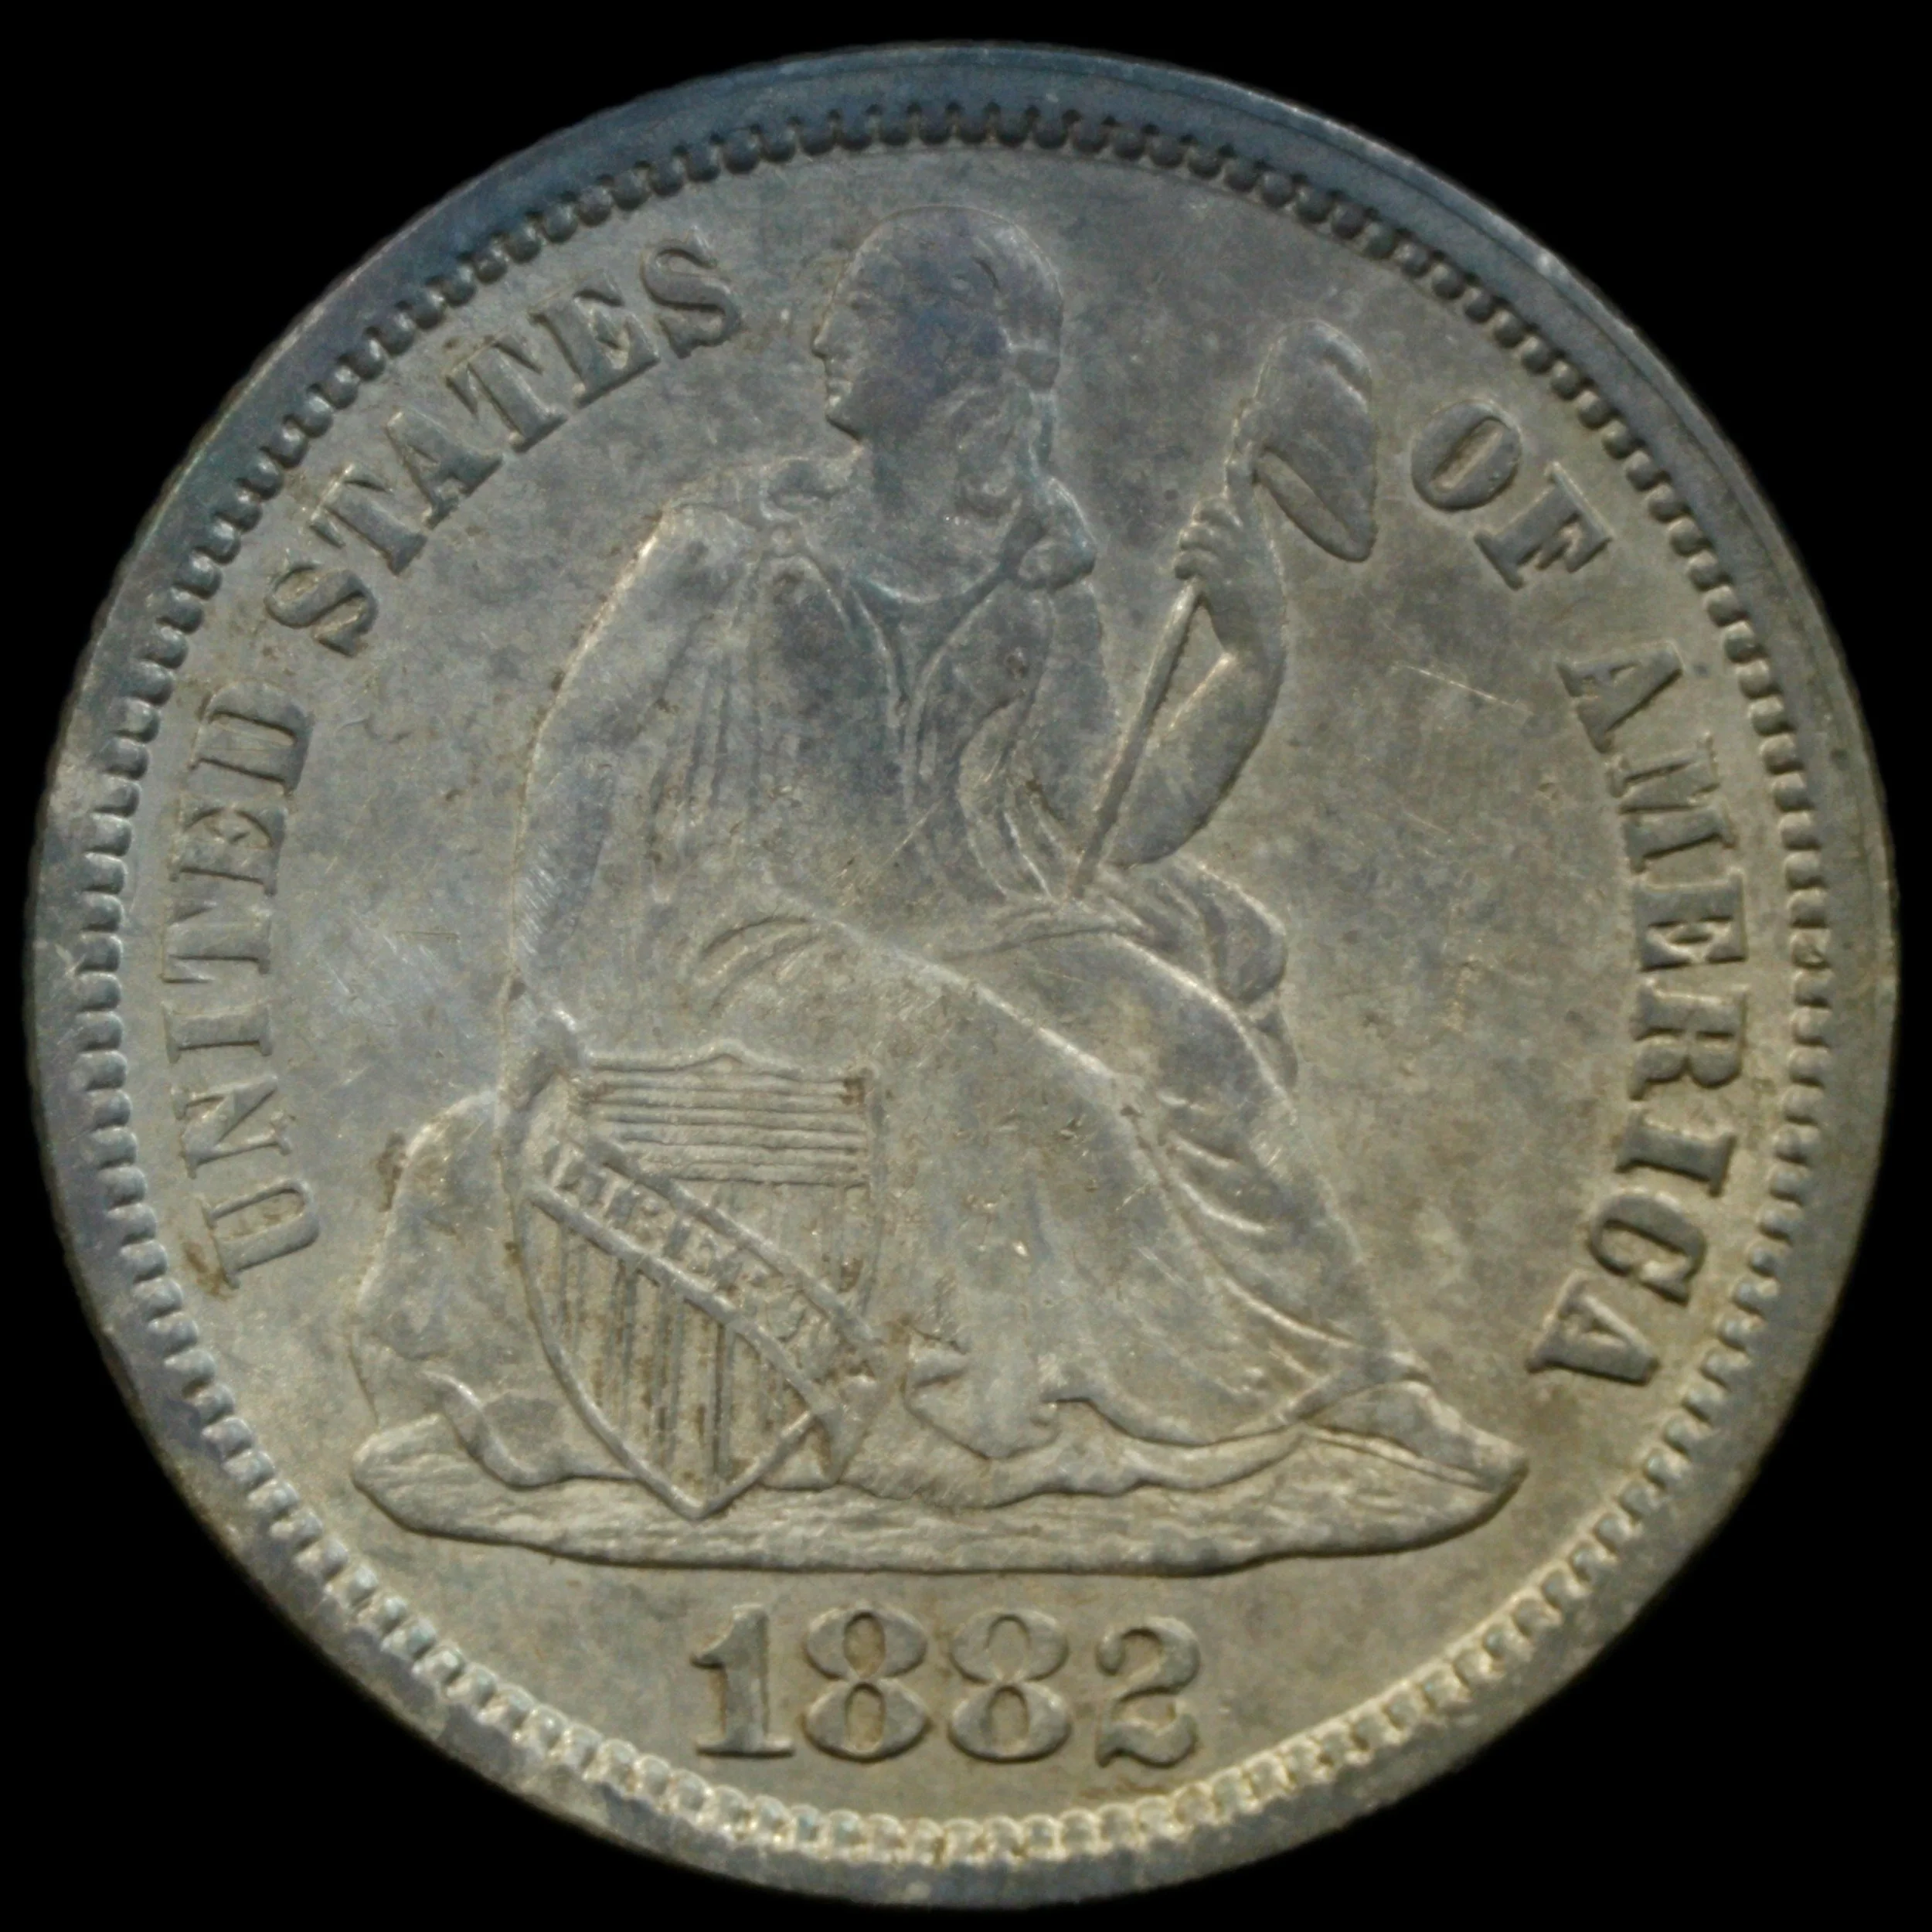
1882 Seated Liberty Dime
Upper blackening could be environmental staining or mild fire scale. It is minor enough to ignore.
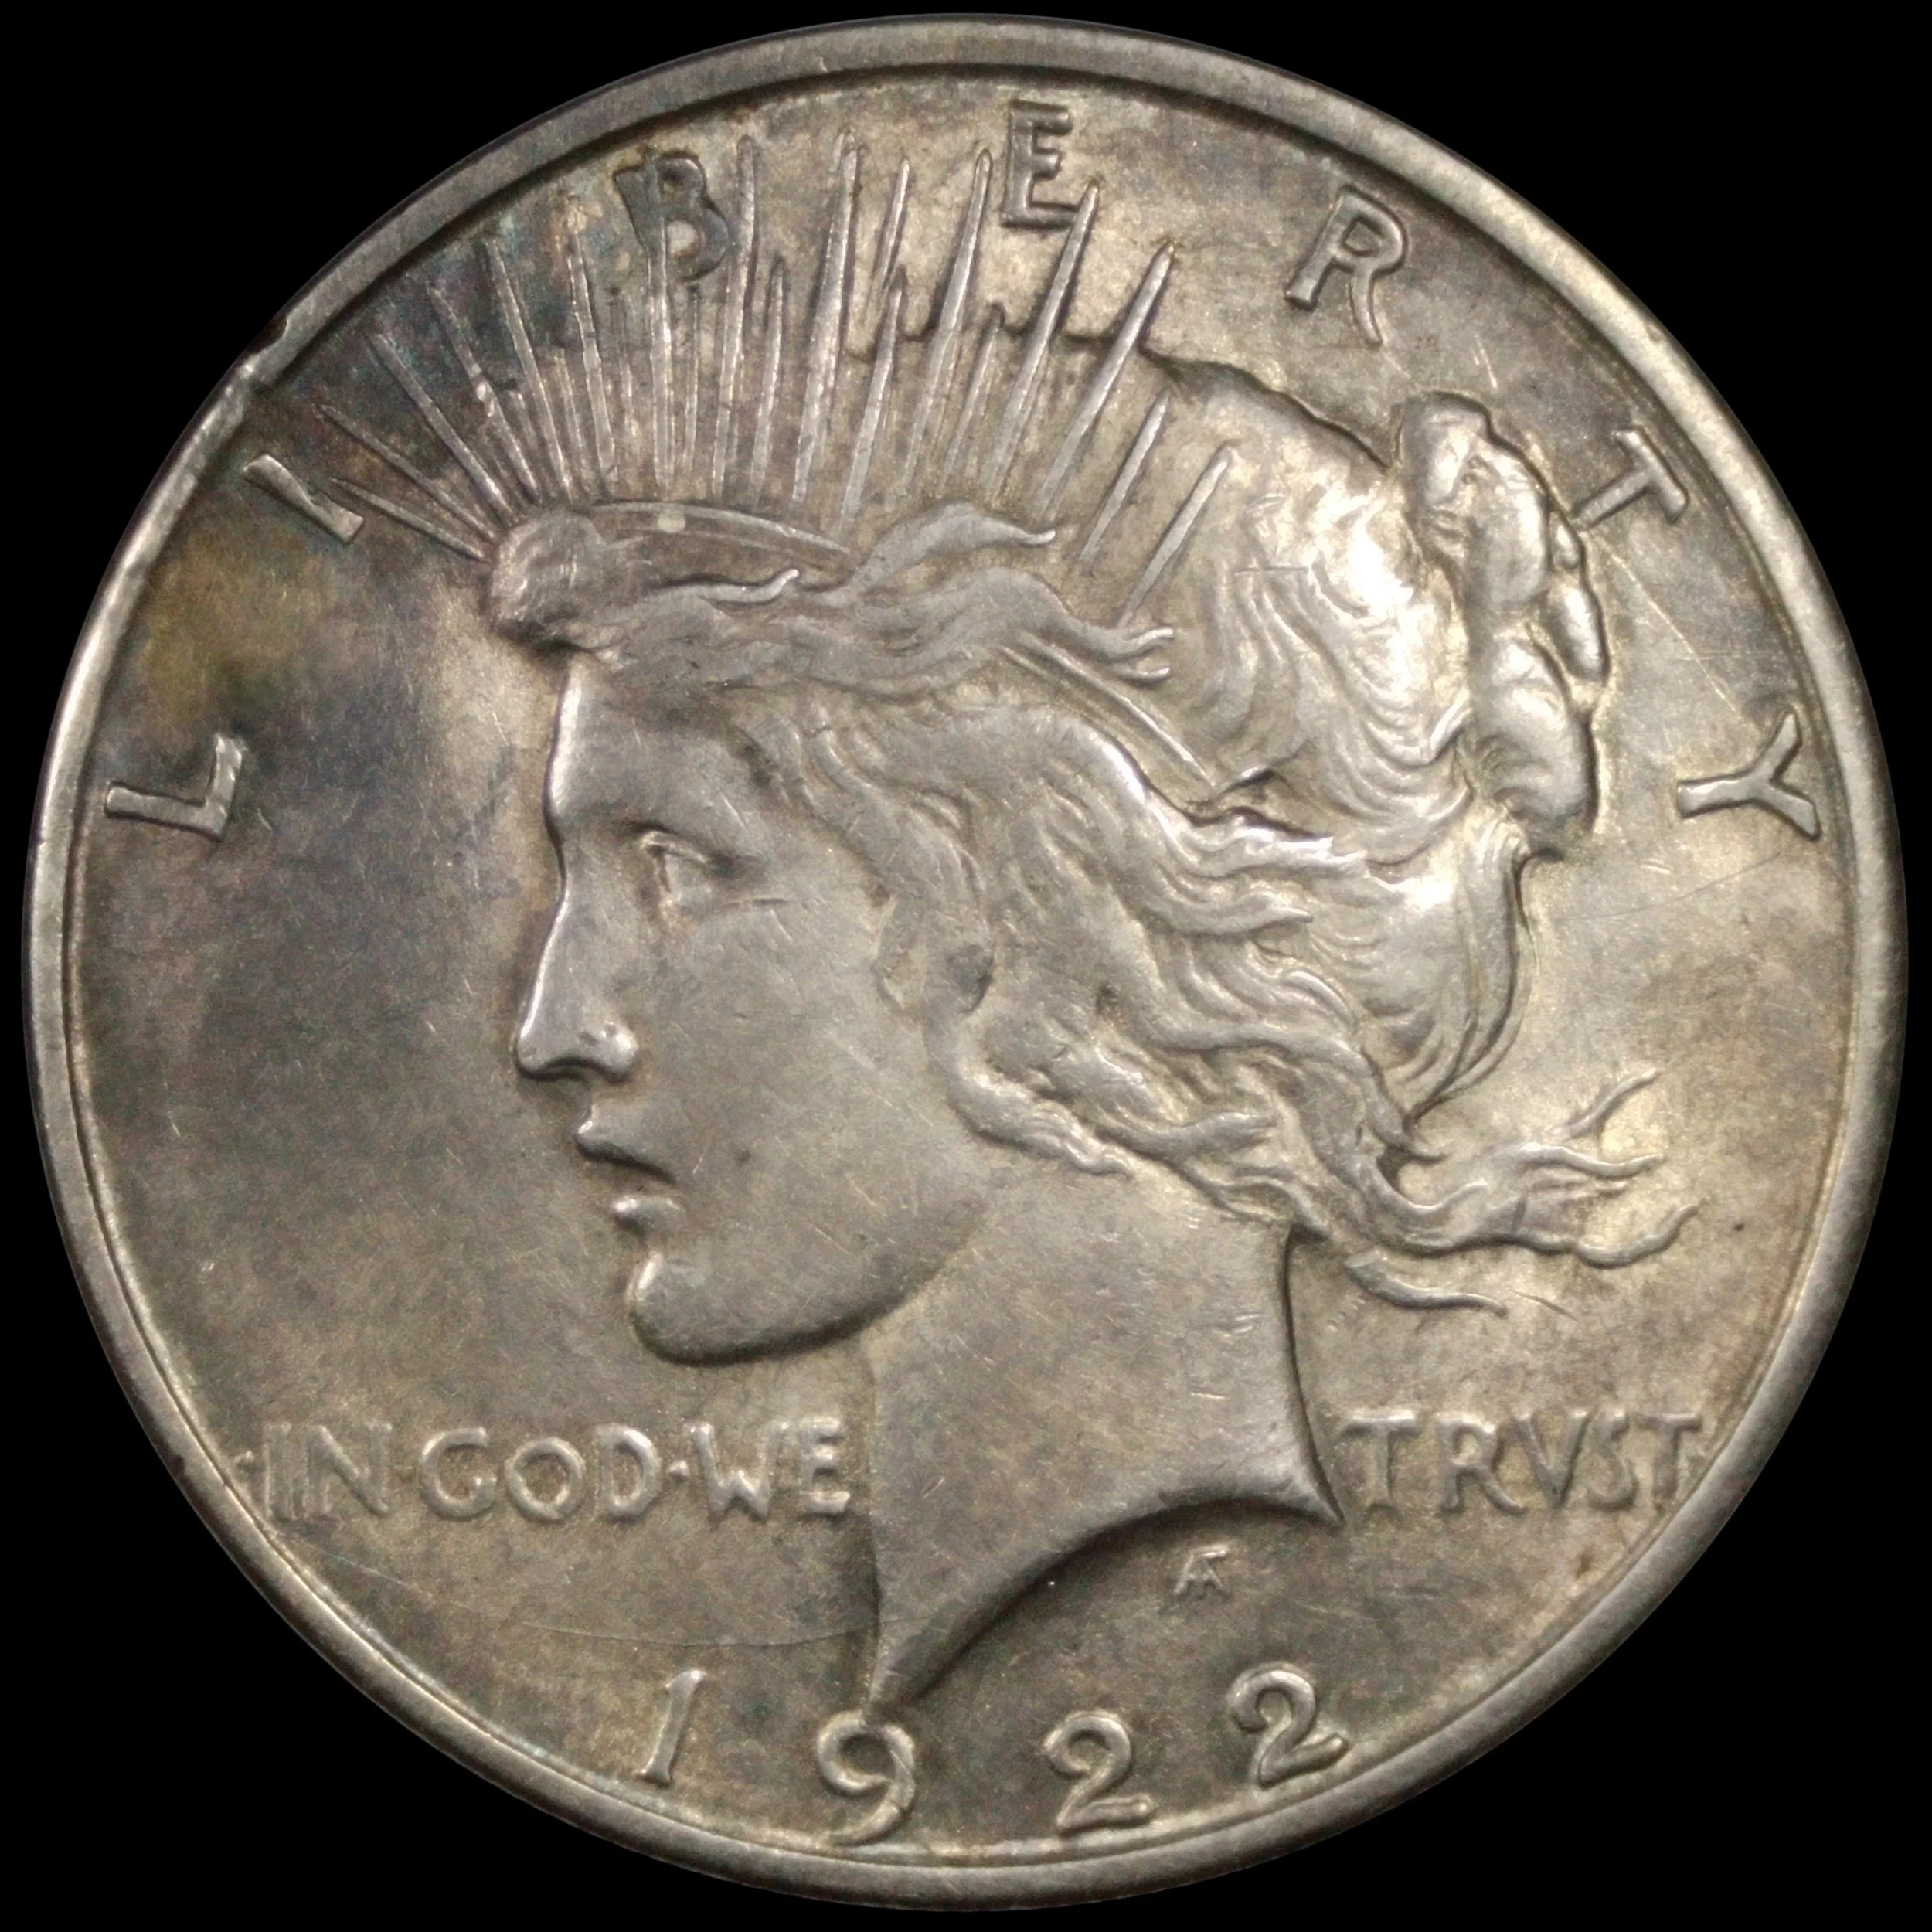
1922-S Peace Dollar
Localized staining that I consider visually appealing.
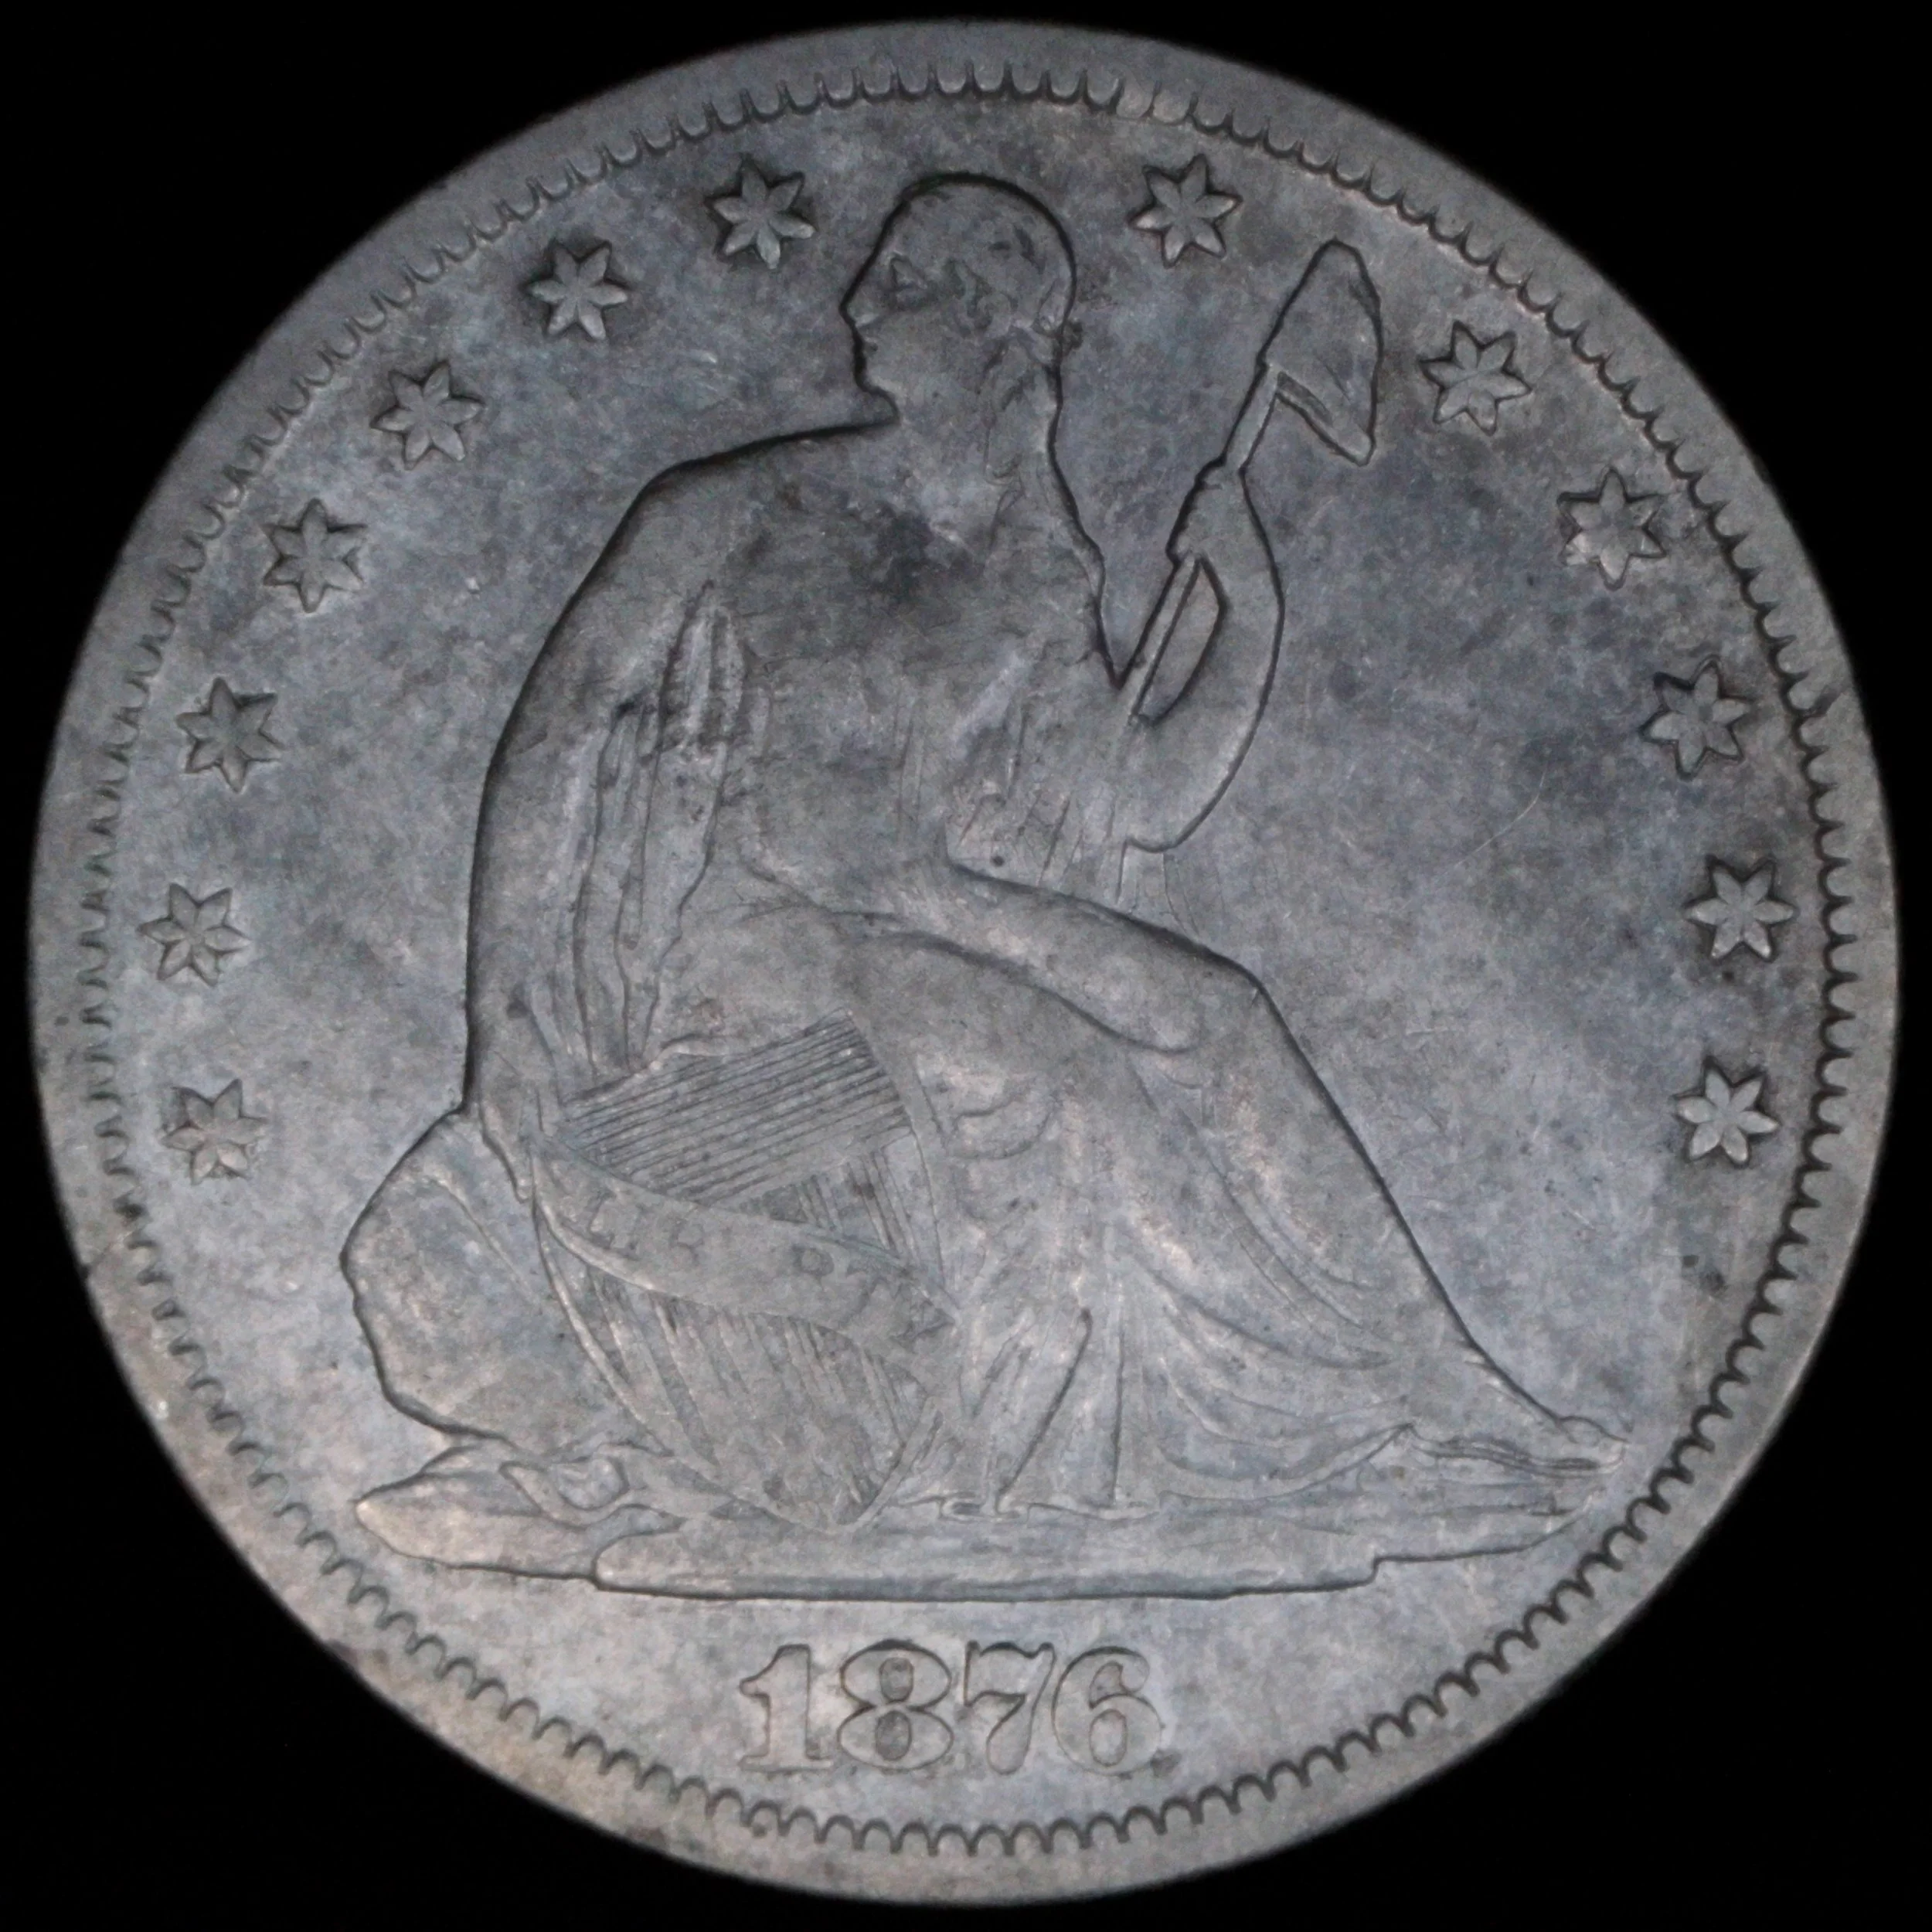
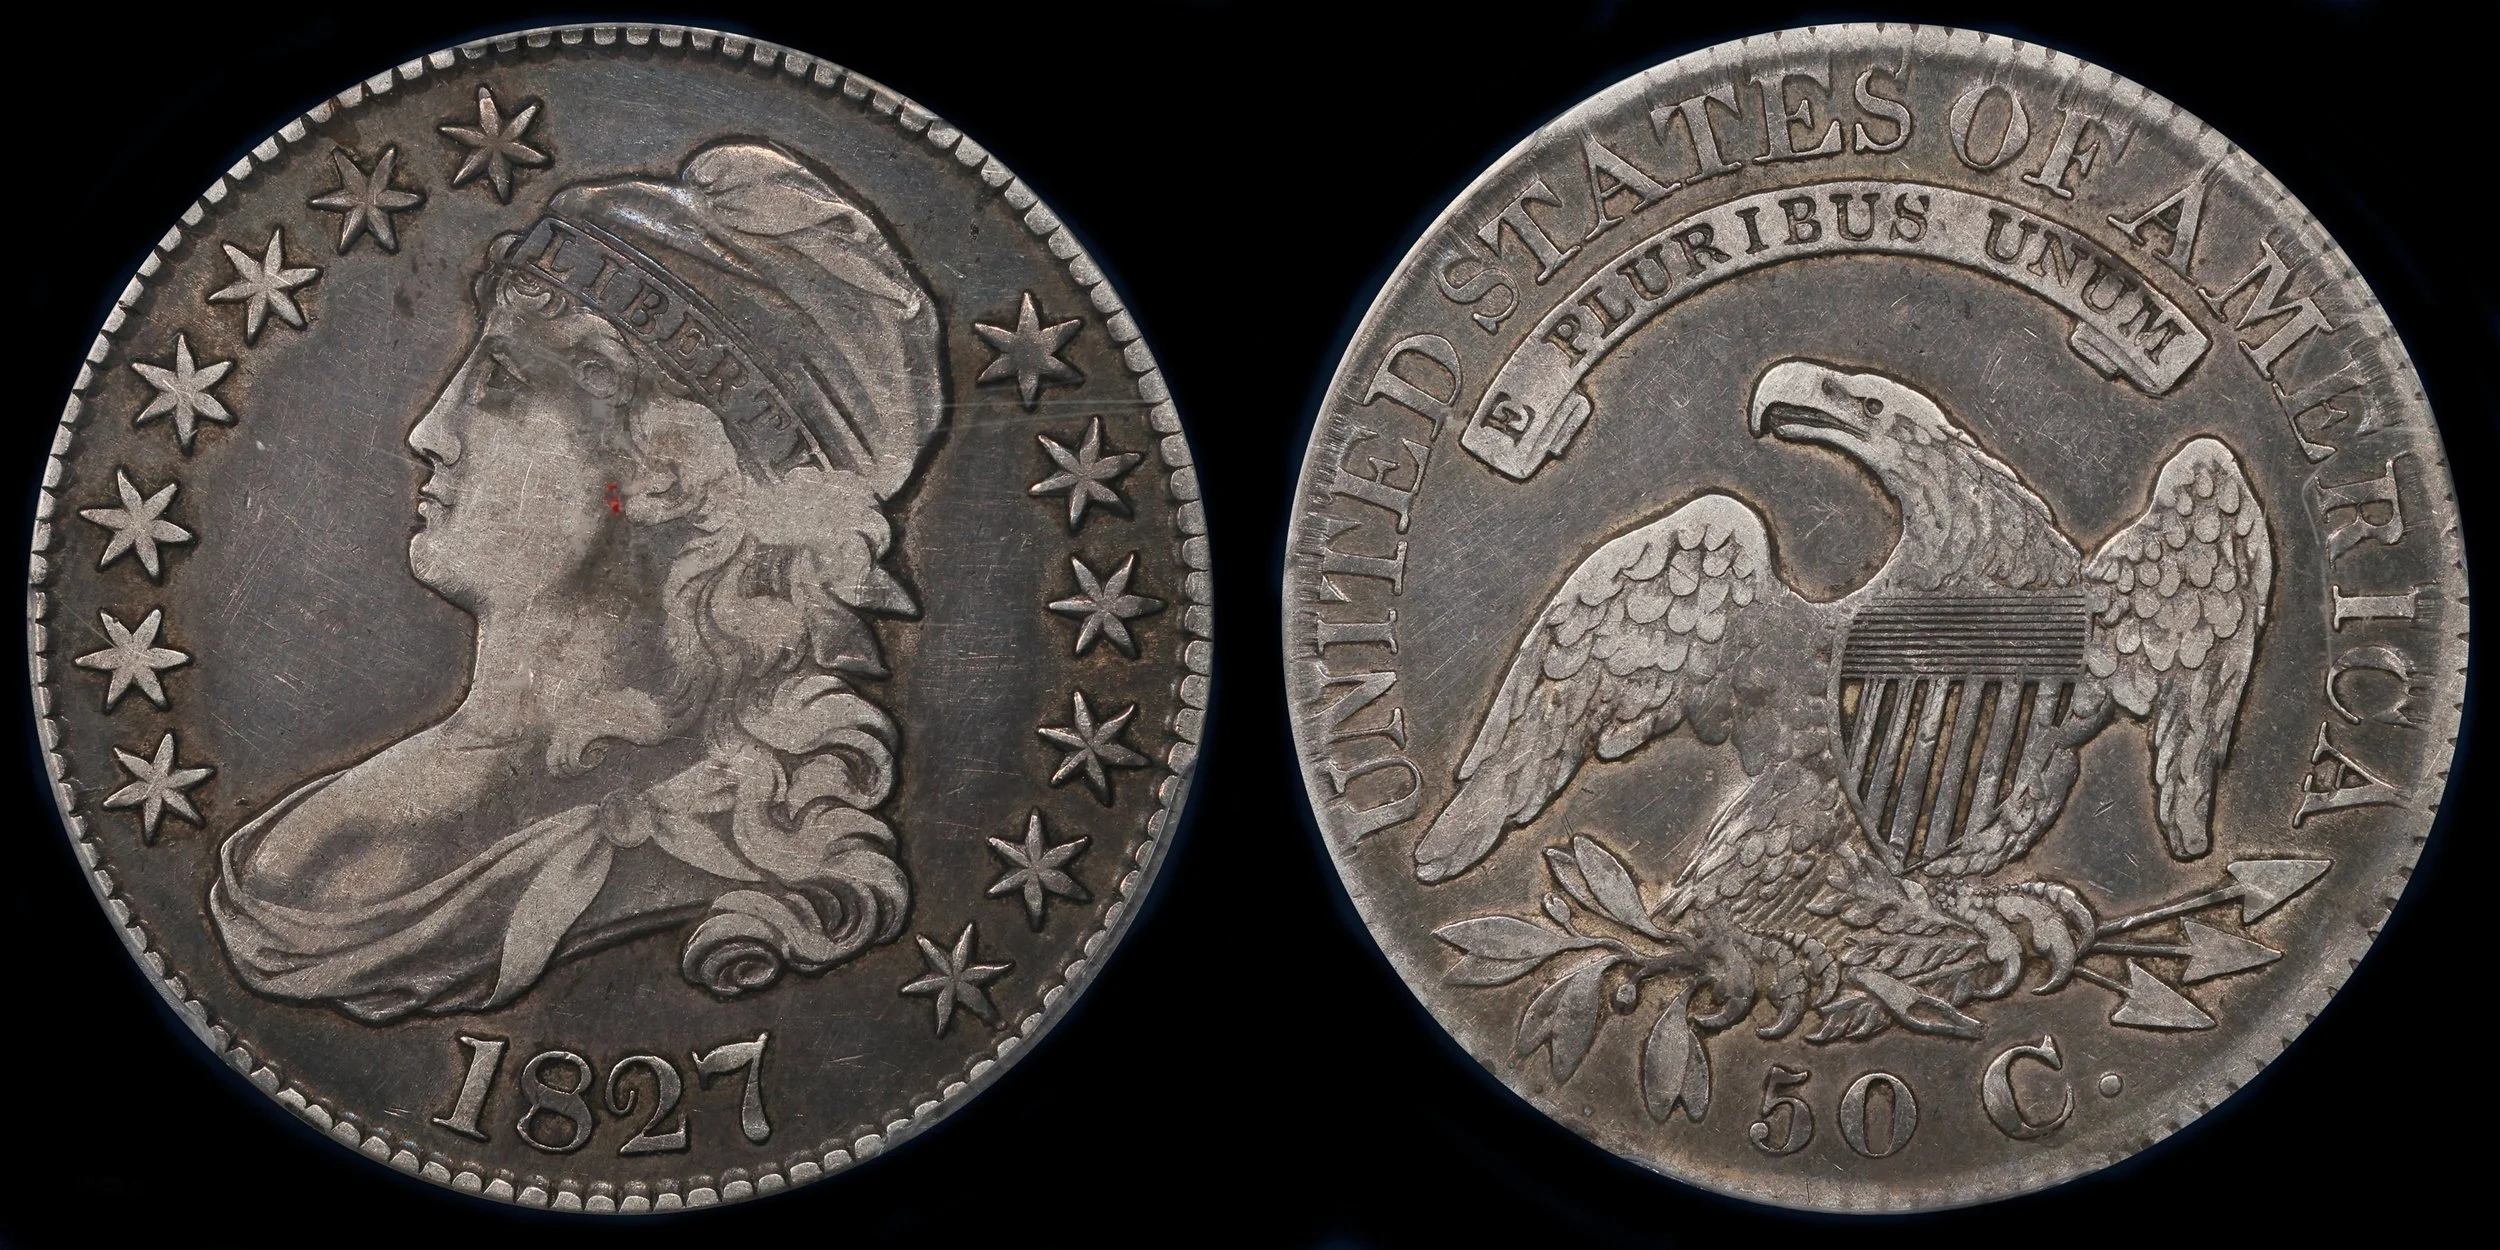
1876 Seated Liberty Half Dollar
Blotchy staining that is relatively minor. It does not distract too much from the remaining detail.
STEP 1 - SODIUM THIOSULFATE
Sodium thiosulfate is the least aggressive method in this series. It functions primarily as a silver-ion complexer, dissolving silver chloride (AgCl) by converting it into a soluble silver–thiosulfate complex. The practical result is that it can lift whitish or gray chloride crusts — sometimes called "horn silver" — that form on silver exposed to soil salts, marine environments, or certain storage conditions.
It does not aggressively attack clean metallic silver on its own. However, where the surface silver is already being oxidized — by oxygen, peroxides, trace halogens, or galvanic interaction with other metals — sodium thiosulfate will draw the resulting Ag⁺ ions into the solution. On corroded or porous surfaces, this can produce slight leaching or etching, so the coin should be monitored throughout treatment.
Sodium thiosulfate is generally considered low-toxicity and sees wide use as a food preservative, an industrial compound, and a medical antidote for cyanide poisoning. That said, it is not without risk — dust, solutions, and mist can all cause irritation to the skin, eyes, and respiratory tract, and standard precautions should be observed.
The Sodium Thiosulfate stage is identical in application as the Sodium Sesquicarbonate phase documented in the Cleaning Coins: Alkali Washing with Sodium Sesquicarbonate blog post; the agent is simply switched. I use an 8% solution for the first round and, if there is discernable improvement from the initial round, I’ll repeat with a 10% solution.
Improvement can be hard to judge using visual cues alone. Accordingly, I’ll typically base a repeated soak at 10% on the color of the solution at the end of the 8% soak. An off-white, or cloudy appearance, is indicative of chloride crusts leaching off the coin. A clear solution suggests no progress was made.
Depending on soak container size, mix a 50mL or 100mL solution of Sodium Thiosulfate. It is a crystalized agent so ensure all crystals have dissolved into the solution prior to starting the soak.
An 8% solution at 50mL would be 46mL of distilled water and 4g of the agent. A 10% solution at 50mL would be 45mL of distilled water and 5g of the agent.
An 8% solution at 100mL would be 92mL of distilled water and 8g of the agent. A 10% solution at 100mL would be 90mL of distilled water and 10g of the agent.
Submerge coin in solution and place lid on container. Soak for 6 hours, flip the coin, and then soak for another 6 hours. Do not soak for more than 12 hours in total.
At the 12-hour mark, remove coin from solution and rinse thoroughly with distilled water. If not rinsed, residues can contribute to haze or future spotting. Take note of the solution coloration; is it cloudy or is it clear?
After rinsing, submerge the coin in a fresh pour of Acetone for 24 hours.
At the 24-hour mark, remove the coin from Acetone and allow it to air dry.
Access results:
If the results are satisfactory, consider the remediation complete.
If the results show progress or the solution was cloudy, continue with a 10% Sodium Thiosulfate solution.
If the results are not satisfactory, show no progress, and/or the solution was already at 10%, continue to STEP 2.
Results from the Sodium Thiosulfate stage at both solution ratios. While some progress was made the results are not satisfactory and we will move on to STEP 2.
STEP 2 - ACID WIPE
Acids are a step I reserve exclusively for environmental staining. More aggressive than sodium thiosulfate but still not the most interventionist option in this series, they represent a meaningful escalation — penetrating deeper and removing more surface metal than thiosulfate alone. They work best when the discoloration is limited in extent and has already shown some responsiveness to the STEP 1 treatment.
My choice for this step is E-Z-Est Coin Cleaner. On silver, it works by chemically dissolving tarnish and reacted surface films, and it acts quickly — because it is actively attacking the outer metal. That speed is also its primary risk. Overuse can strip toning, erase the coin's natural character, and leave the surface unnaturally bright or washed out. On heavily or deeply stained silver, E-Z-Est may offer only marginal improvement regardless of exposure time, and pushing it further will cost more than it gains.
E-Z-Est contains sulfuric acid and thiourea. Eye and skin protection are essential, and the product's safety data sheet classifies it as corrosive — use in a well-ventilated area only.
Step-by-step guidance only goes so far here — acid work is dynamic, and execution depends entirely on how the staining is responding in real time. That said, the following recommendations are non-negotiable.
Apply with Q-Tips only — never dip. Direct immersion in E-Z-Est offers no control. Q-Tips allow precise, localized application and carry an additional benefit: the white cotton surface will visibly darken if the stain is lifting, giving you immediate feedback. I am well aware that Q-Tips are generally discouraged in coin work — but we are deliberately etching the surface here, and in that context they are entirely appropriate.
Always start diluted. Use distilled water to dilute the solution and work toward full strength only as needed. For mild staining, start at a 4:1 ratio; for heavy staining, 3:1. Inspect carefully before graduating to a stronger concentration. And always add acid to water — never water to acid.
Have a distilled water rinse ready before you begin. The acid does not stop working on its own — immediate rinsing is essential. Once the rinse container is in place, do not leave the acid on the coin for more than 20 to 25 seconds under any circumstances. Rinse thoroughly every time.
Watch the video multiple times before attempting this step. The nuances of how acid interacts with environmental staining are difficult to convey in text alone, and the video covers what words cannot.
Results from the acid stage after 3-to-1, 2-to-1, and undiluted applications. Significant progress was made however the results are still not satisfactory. Processing will continue with STEP 3.
STEP 3 - ALUMINUM FOIL & BAKING SODA
I'm far from a chemist but my understanding is that the foil method works by exploiting an elegant piece of electrochemistry called an oxidation-reduction (redox) reaction. When you place a silver coin on aluminum foil in a hot water bath, you are setting up a simple galvanic cell — the same fundamental process that powers batteries. Aluminum is a far more reactive metal than silver and has a much stronger tendency to give up its electrons, making it an excellent reducing agent. In this setup, the aluminum acts as the anode (the site of oxidation), while the silver sulfide compounds on and within the coin act as the cathode (the site of reduction). Electrons flow from the aluminum through the electrolyte solution into the coin, chemically converting silver sulfide back into metallic silver. Because the redox reaction is driven electrochemically rather than mechanically, it can penetrate beyond the immediate surface, reaching sulfide compounds that have migrated into the shallow subsurface layers of the metal — something that abrasive or solvent-based cleaning simply cannot do.
The hot water, baking soda (sodium bicarbonate), and salt (sodium chloride) work together to create a conductive electrolyte solution that makes this electron transfer possible. Water alone is a poor conductor of electricity, but dissolved ionic compounds dramatically increase its conductivity by providing free ions to carry the electrical current. Sodium bicarbonate contributes sodium and bicarbonate ions, while salt contributes sodium and chloride ions. The heat is also critical — raising the temperature of the solution increases the kinetic energy of the ions, accelerating the rate of the electrochemical reaction considerably, and also aids in opening up the micro-porous grain boundaries of the silver matrix, allowing the electrolyte to make better contact with subsurface sulfide compounds.
The overall chemistry can be summarized in two half-reactions. At the aluminum anode, aluminum metal is oxidized. At the silver sulfide cathode, those liberated electrons reduce the silver sulfide back to elemental silver. The sulfide ions released from the silver then combine with the oxidized aluminum ions to form aluminum sulfide, which may further hydrolyze in the hot water to produce a small amount of hydrogen sulfide — accounting for the characteristic "rotten egg" odor some people notice during the process. Crucially, because this reaction regenerates silver atoms in situ within the metal's grain structure rather than dissolving and removing material, it is uniquely capable of partially reversing staining that has penetrated below the surface — restoring silver that has been chemically converted back to its metallic state where it originally resided.
It is worth managing expectations carefully, however. While the electrochemical method can address subsurface sulfide staining effectively, deeply ingrained environmental staining — particularly in coins that have spent long periods buried in soil or exposed to chloride-rich environments — may only be partially mitigated. In such cases, silver chloride phases and other corrosion products may also be present alongside silver sulfide, and these respond differently to the redox chemistry of this method. Additionally, where staining has penetrated deeply enough to alter the grain structure or cause microporosity, the restored silver may appear slightly different in reflectivity than the surrounding metal.
The aluminum foil method is straightforward in principle but benefits enormously from seeing it done in practice. Rather than walking through each step in text, I strongly recommend watching the video below several times before attempting the process. Pay close attention to solution preparation, timing, and how the coin responds throughout — details that are difficult to fully appreciate without seeing them unfold in real time.
It is also worth tempering expectations going in. Not every coin will respond to this treatment, and those with deep or complex environmental staining may show little to no improvement. If the coin is not responding, do not extend the treatment hoping for a different result — move on to the next step in the series or accept the outcome as the coin's natural resting point.
Results from the Foil & Baking Soda stage. There was definitely more progress made than I assumed while processing. However, this coin is destined for further processing.
STEP 4 - ROTARY ROCK TUMBLER
The final step in this series is also the most aggressive — and notably, the only one that involves no chemistry at all. Where sodium thiosulfate and acids work by chemically attacking the stained surface, rotary tumbling works mechanically, using controlled abrasion to simulate the wear that time and human handling would have done naturally. The goal is not to grind the coin but to coax it — replicating the softening effect of decades spent passing through pockets, purses, and wallets.
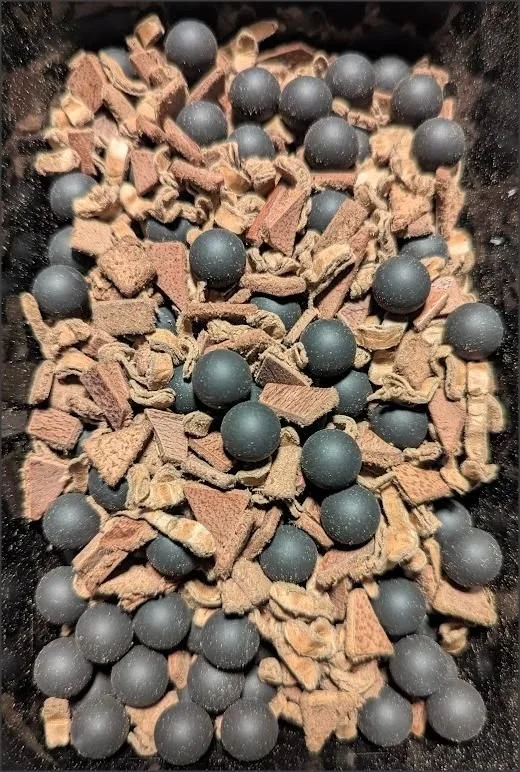
The media is everything here. I have tested dozens of media types and settled on the combination of small rubber balls and scrap leather cut to roughly the size of a Tic Tac. The rubber balls deliver gentle, even pressure across the coin's surface, mimicking the give of human touch. The leather pieces replicate the fine, directional friction of fabric and worn material — the kind of contact that gradually subdues harsh surfaces and imparts a natural, lived-in quality to the metal. Together, the two media work in a way that no chemical step can replicate: not by removing a stain outright, but by blending it into the coin's surface until it reads less as damage and more as character.
The choice of tumbler type is not a matter of preference — it is critical to the outcome. A vibratory tumbler works by vibrating the barrel at high frequency, creating a relatively uniform, all-over abrasion that has no directional quality to it. That uniformity is precisely the problem. On a coin, it tends to hit high points and flat fields with equal aggression, which can quickly blur detail, flatten relief, and produce a result that looks mechanically processed rather than naturally worn. A rotary tumbler, by contrast, rolls the coin end over end in a continuous tumbling motion — and that motion matters enormously. The coin contacts the media at constantly changing angles, replicating the random, multi-directional wear that accumulates over a lifetime of genuine circulation. It is that randomness that makes the result believable. When combined with the right media, a rotary tumbler does not make a coin look cleaned — it makes a coin look used.
Detailed step-by-step instruction is difficult to provide here for the same reason it is difficult with acids — the process is entirely driven by how the coin is responding and what you are trying to achieve. That said, a few points are non-negotiable.
A rubber barrel is essential. The hard plastic or metal barrels that come with many tumblers will be too aggressive on the coin's rims and introduce a type of abrasion that has nothing to do with simulated wear. The tumbler I use is a relatively inexpensive National Geographic model purchased on Amazon — you do not need anything elaborate.
Run it on the lowest speed setting available, without exception. Never walk away and leave the coin unattended for extended periods. I will not let the tumbler run longer than two hours without pulling the coin, and doing a visual inspection under magnification. The process moves faster than most people expect, and the window between a good result and an over-tumbled one can close quickly.
The most important thing to understand going in is that longer tumbling means more simulated wear — and more simulated wear means less detail. That trade-off is the entire calculus of this step. Some coins benefit from an extended run; others need only a short one. Keep tumbling until you are satisfied with the appearance, but always weigh what you are gaining in surface character against what you may be sacrificing in definition. When in doubt, stop early. Like everything else in this series, you can always do more — you cannot undo what has already been done.
Before tumbling anything of value, practice on common circulation coins first. Coins pulled from pocket change are ideal candidates — they are plentiful, worthless, and varied enough in surface condition to give you a realistic sense of how the process behaves across different metals and wear states. Run them through at varying intervals and compare the results. You will quickly develop an instinct for how the media interacts with the surface and how rapidly the coin's character changes over time. That hands-on familiarity is genuinely difficult to shortcut, and the lessons learned on a ten-cent coin are far less costly than the ones learned on something you dug out of a colonial-era site.
Results from the Rotary Rock Tumbler stage. In my opinion, the environmental staining has been remediated.
WRAPPING UP
If you have worked through any combination of the steps in this series and arrived at a result you are happy with, the hard part is done. The staining has been addressed to the extent the coin will allow, and what remains is an honest reflection of what the metal has been through. That is worth something.
For those satisfied with the outcome but looking to add just a touch of life back to the surface, a mineral oil finishing soak is worth considering. Mineral oil will not reverse staining or alter the metal in any meaningful way — but it can restore a subtle sheen to silver that has been dulled by treatment, and it helps condition and stabilize the surface for longer term storage.
The most effective way to apply it is with a hot-to-cold soak. Heat the mineral oil to around 150°F, submerge the coin, and allow it to cool naturally to room temperature over several hours. The science behind this is straightforward: as the oil cools, it contracts and is drawn into the micro-porous grain structure of the metal — penetrating subsurface in a way that a room temperature soak simply cannot achieve. The result is a more even, deeper conditioning of the surface rather than a superficial film sitting on top of it. When the soak is complete, remove the coin and gently pat it dry. Any excess oil can be lightly buffed away with a soft cloth.
It is a quiet finish to what has been a fairly involved process — and on the right coin, it makes a noticeable difference.
WHAT’S NEXT
The methods in this series focus on remediation — reducing the visual impact of environmental staining while preserving as much of the coin's remaining character as possible. But there is a step beyond that, and it is one I find genuinely rewarding: adding back a circulation cameo from scratch. Building that dull off-white surface with natural-looking field darkening is its own discipline, and one that deserves its own dedicated post. That guide is in the works — stay tuned.